

Hello all you Paragon Lovers.
Back in the day I loved playing my Paragon with many other human Paragons together, which resulted in my Paragon to be my second GWAMM I had. There was a small german community around Ragnaroek Al Pukhi on the old German Guild Wars Forum (Wartower), which regularly did Human Paraways for all Dungeons and End Game areas. The one skill, that makes Paraways possible at all is [Finale of Restoration]. Along the way there was an update from ANet, which destroyed the possibility of Paraways all along, because this mandatory skill was changed in a way, so that it ends after only 5 triggers. Thus, the needed healing wasn't enough anymore and Paraways simply died. This changed the Paraway community to be almost non existant. The skill was changed back later, but the damage to the community was done and Human Paraways fell into a deep sleep.
Some people tried Hero Paraways, but harder HM areas, End Game areas and Dungeons in HM seemed to be not doable or lets say not really enjoyable, since Human Paraways heavily needed the assistance of PVE-only Skills. But the latest update to the game and the introduction of [Heroic Refrain] turned the tables, because now you can effectivley skill your Paragon Heroes in 4 different attributes.
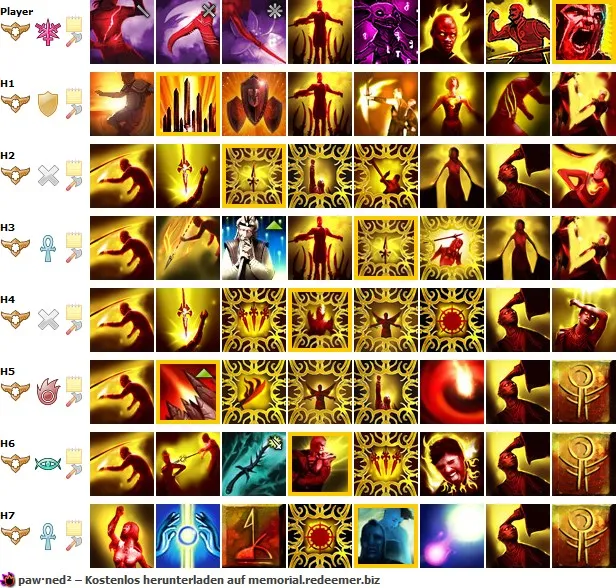
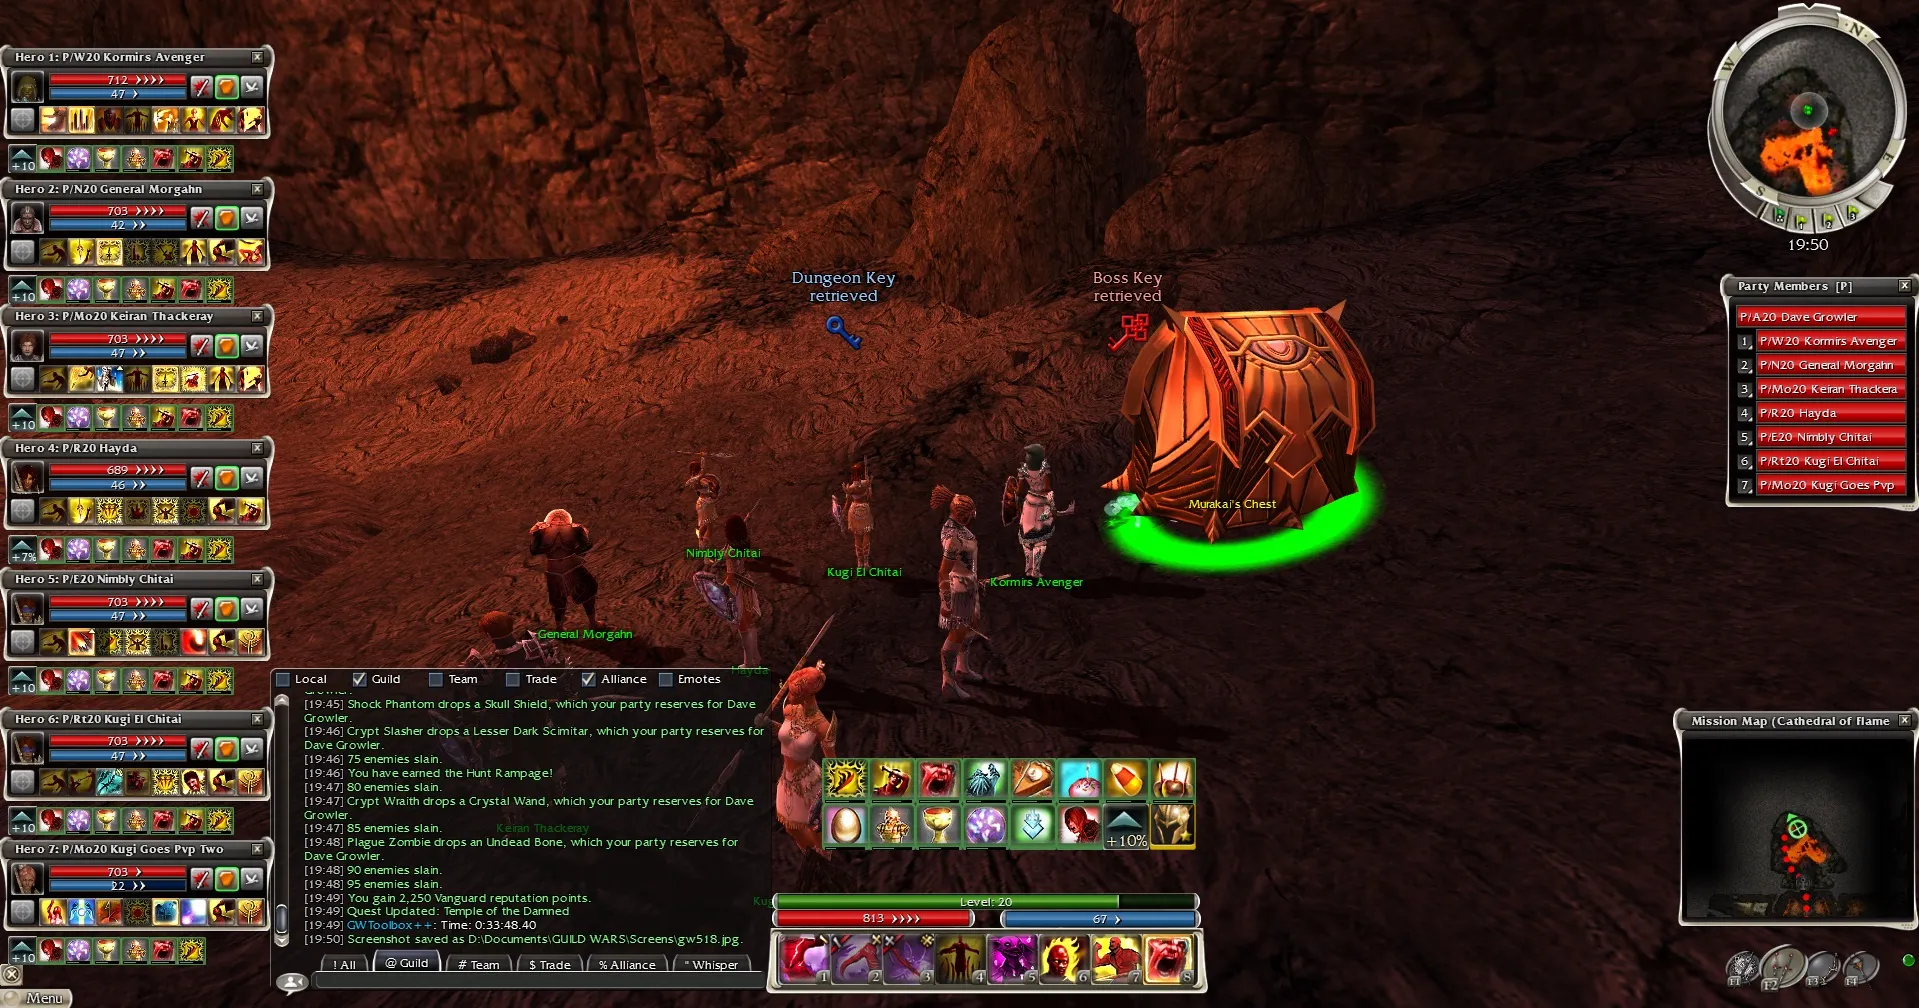
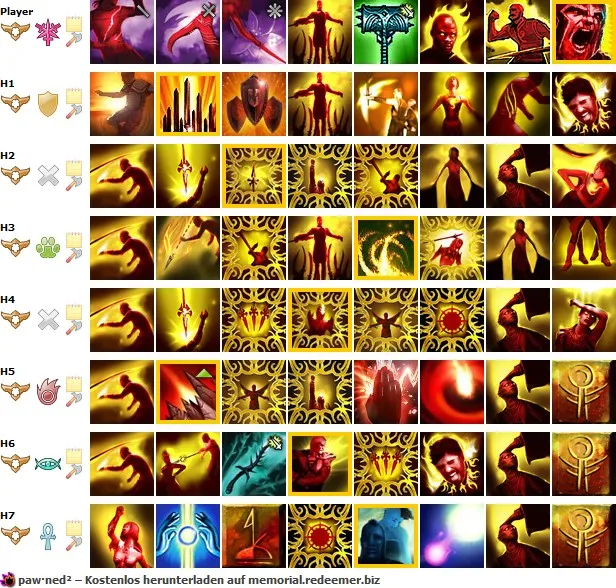
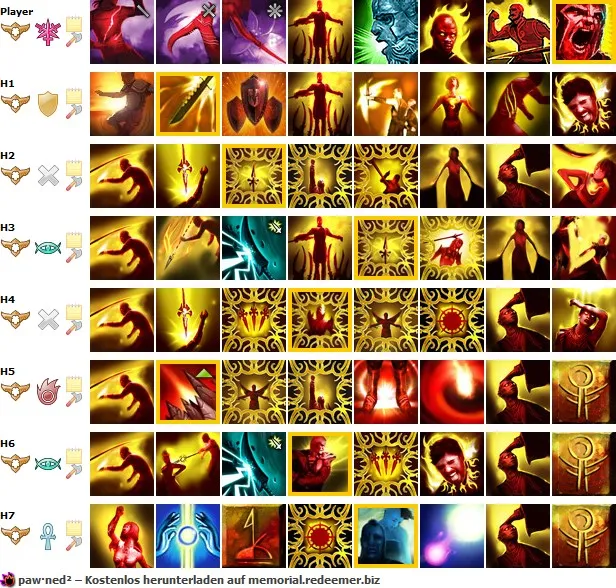
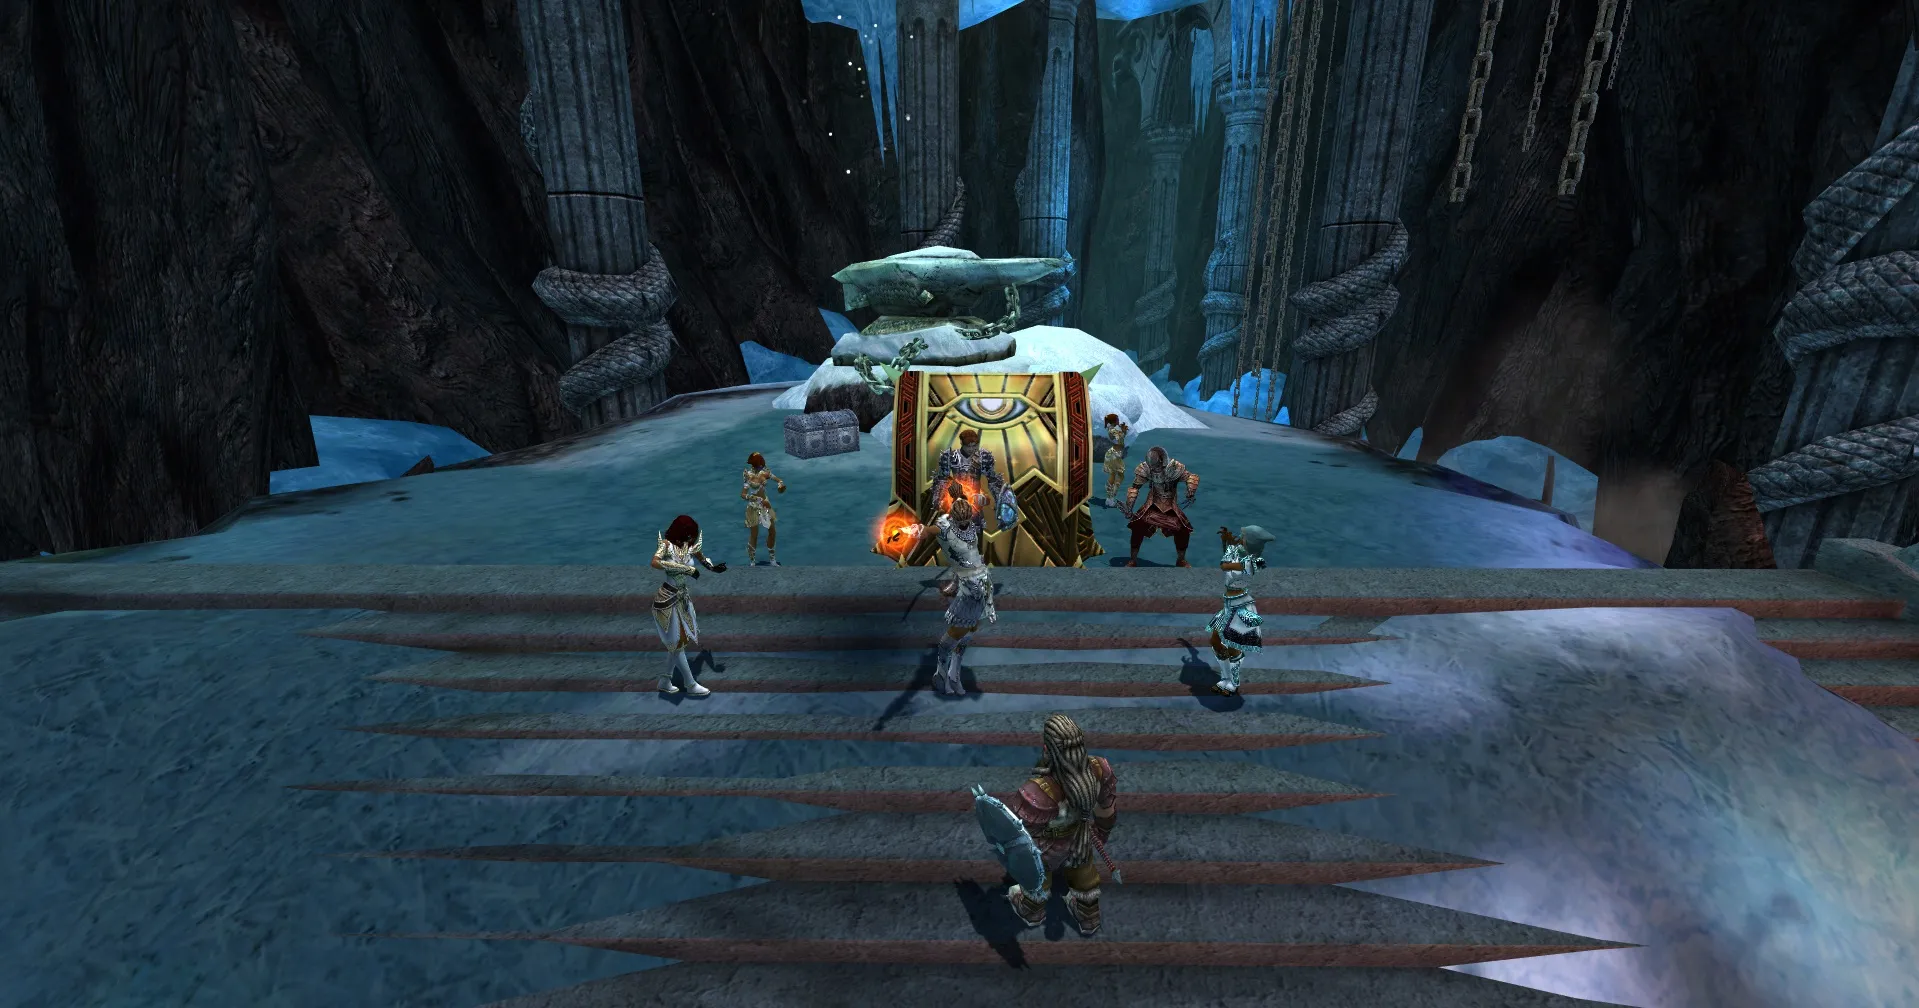
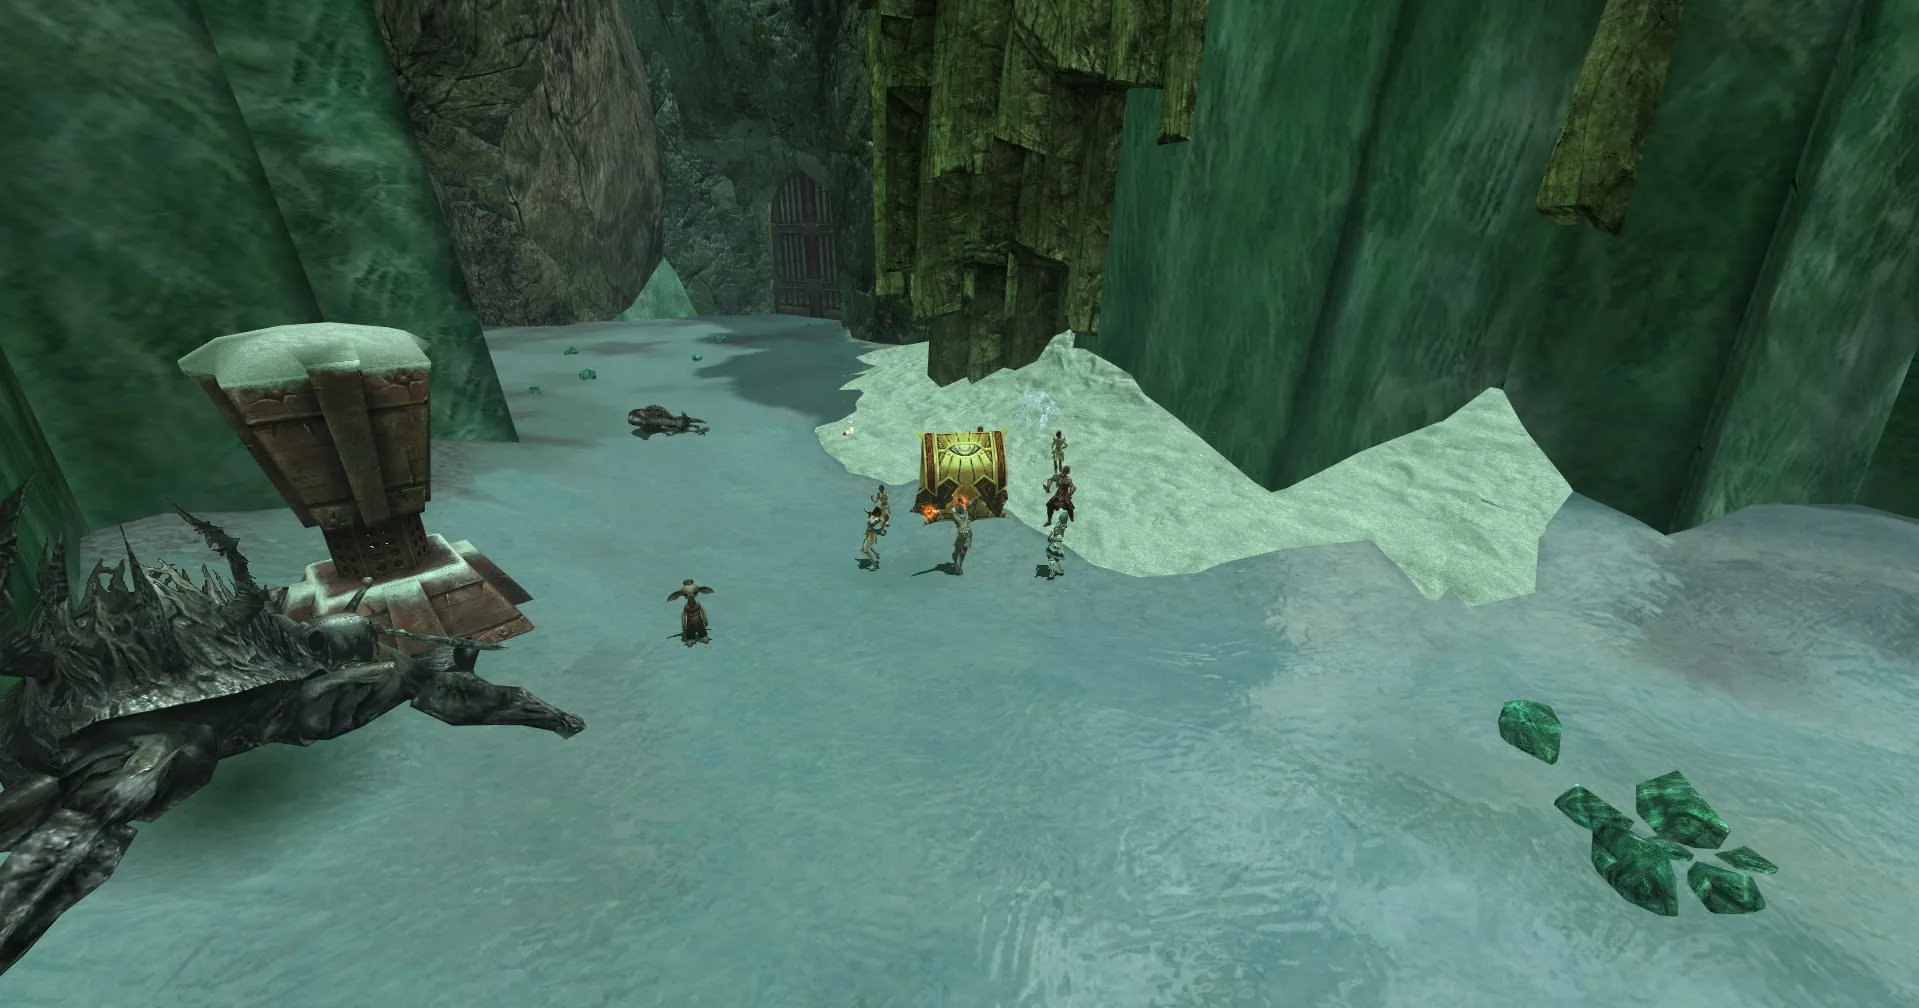
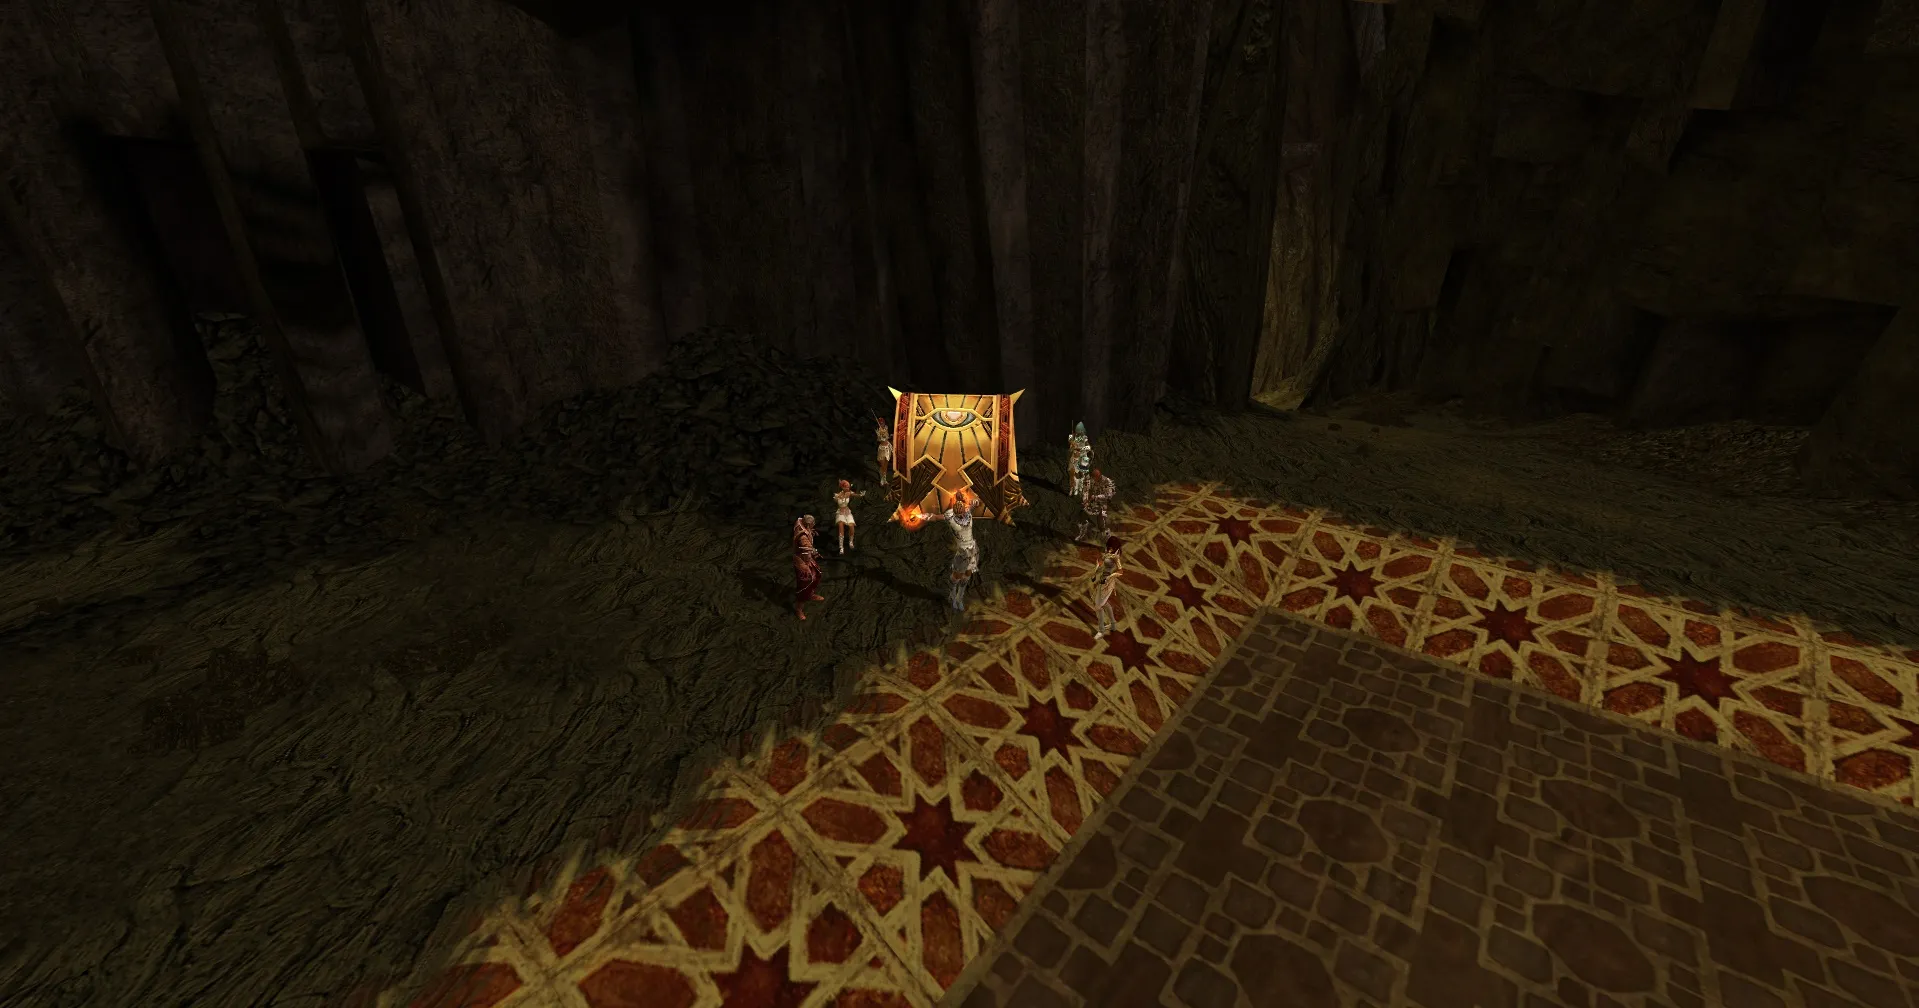
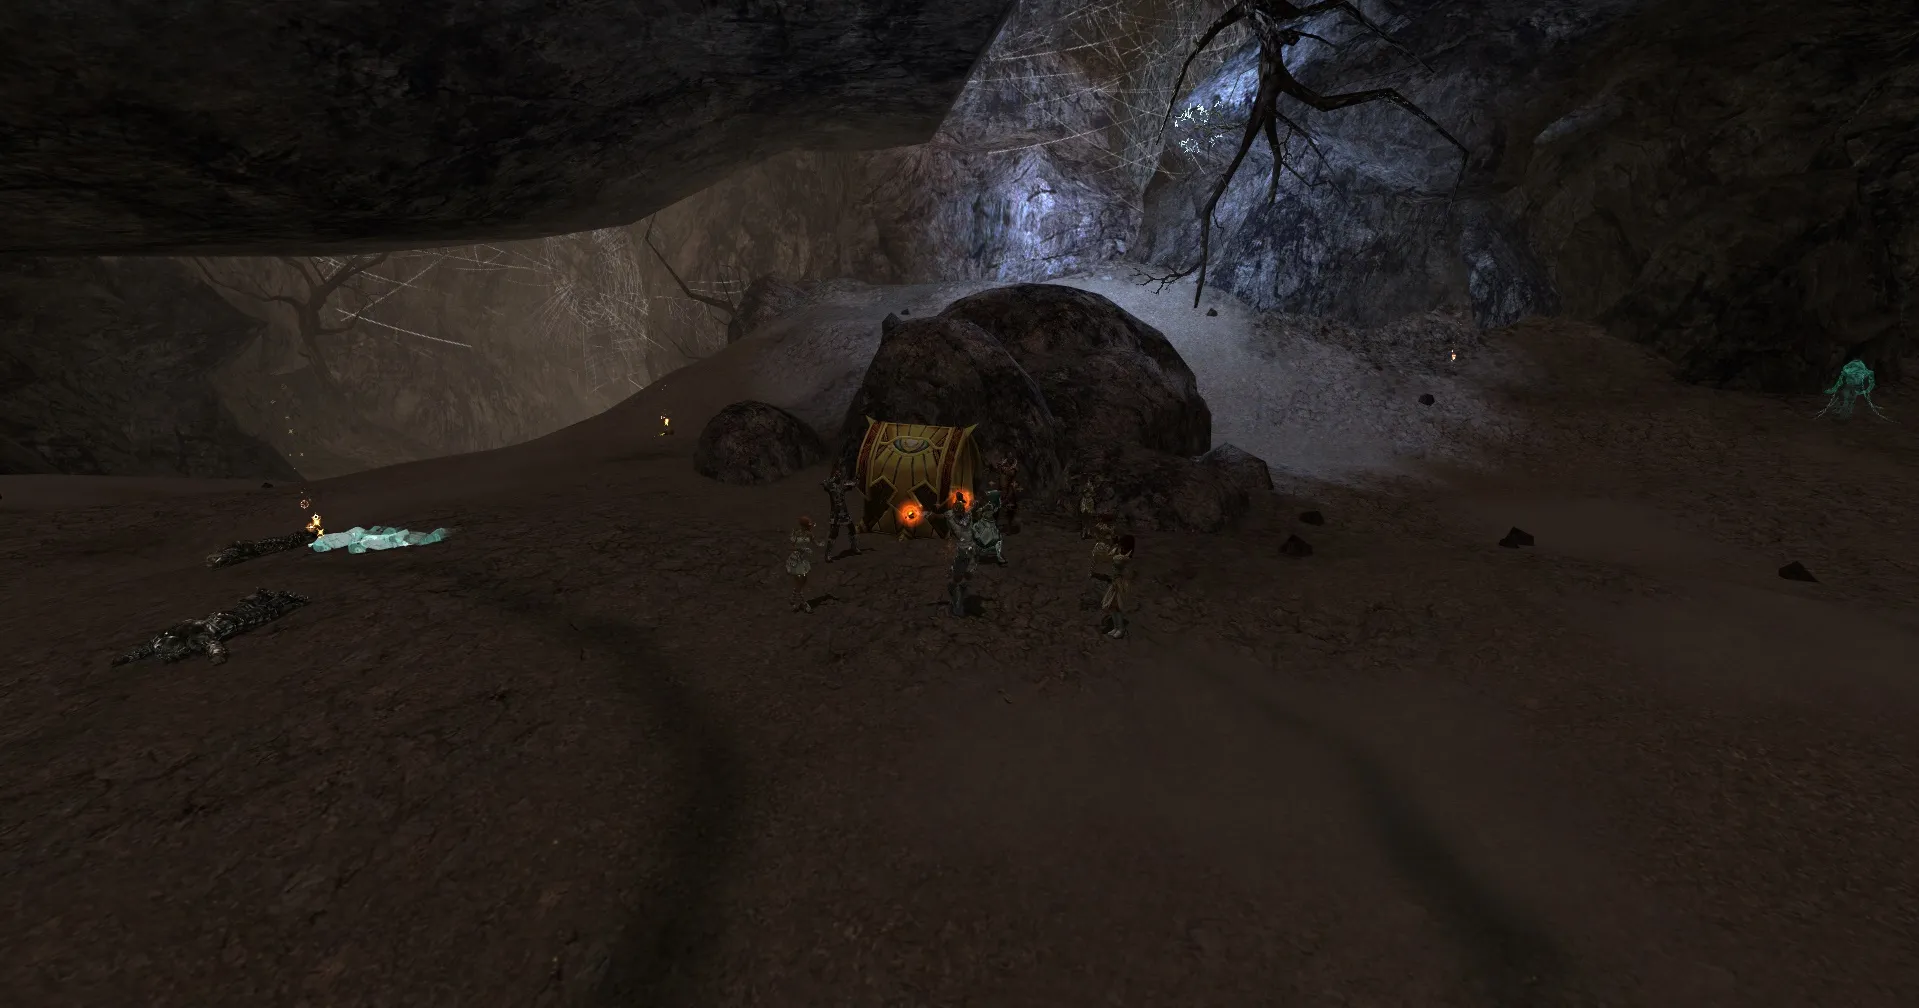
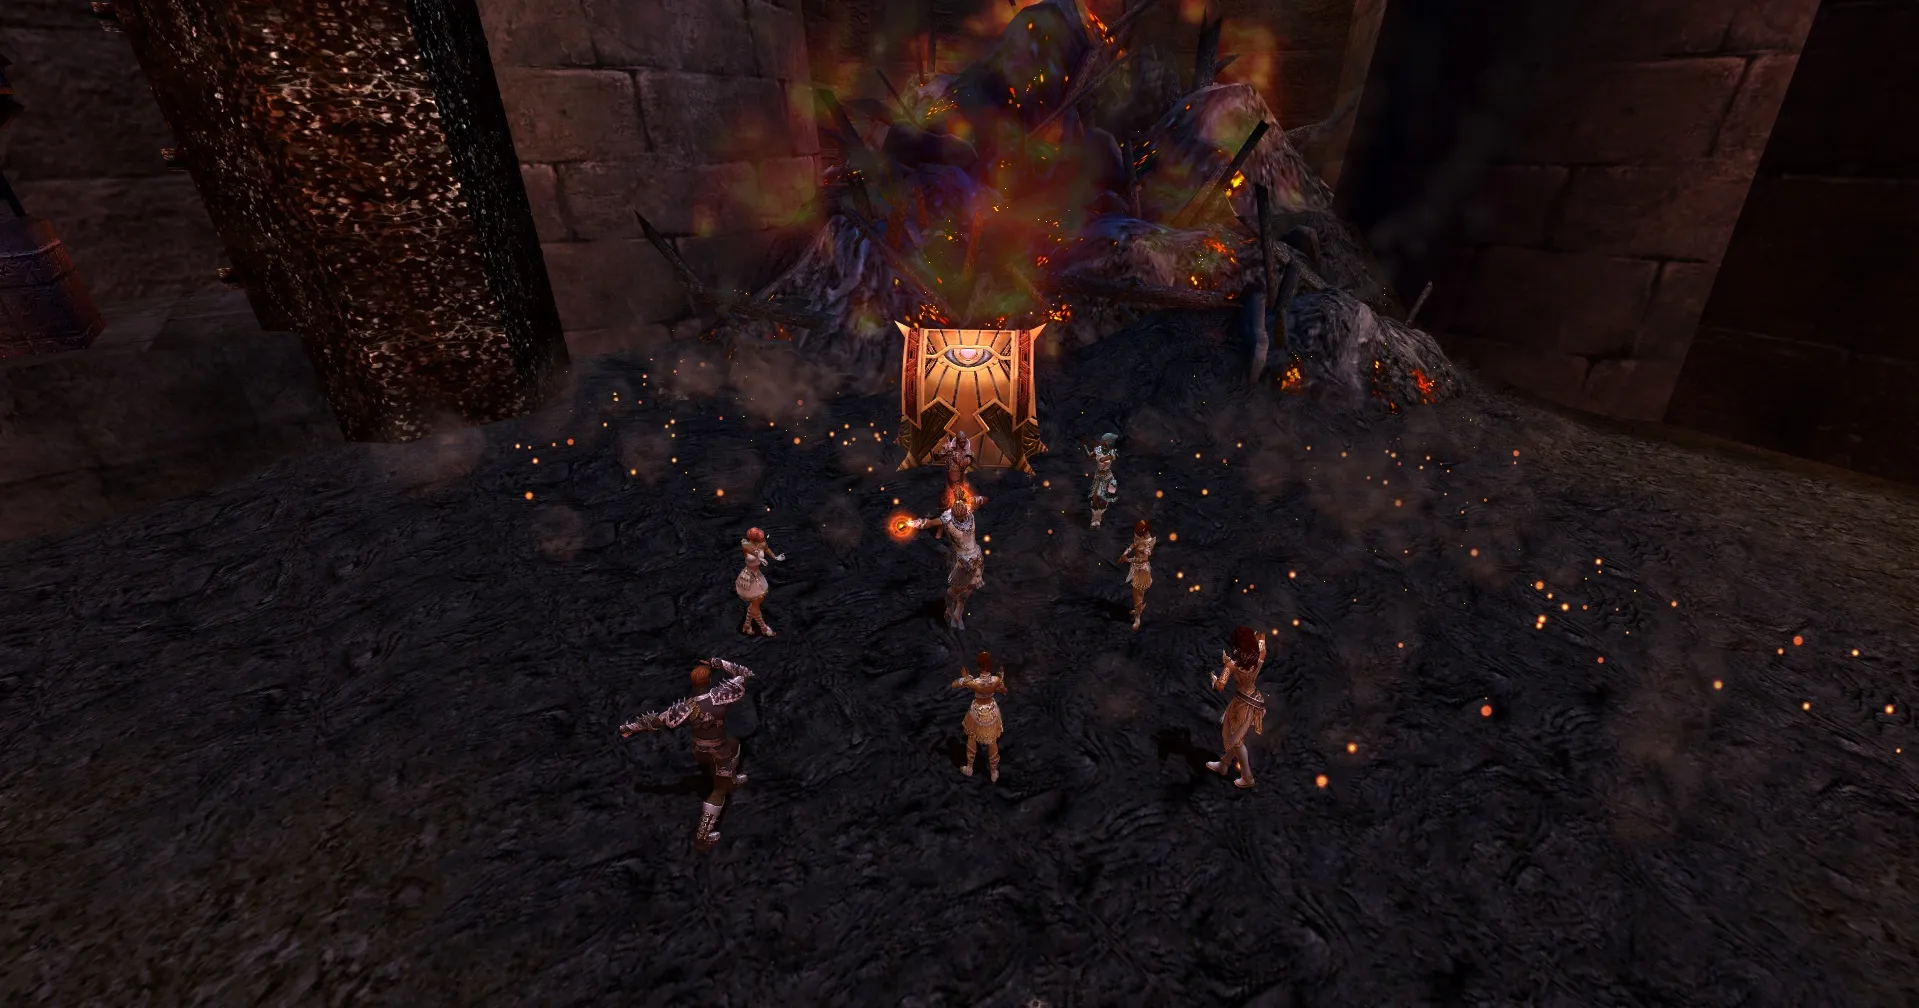
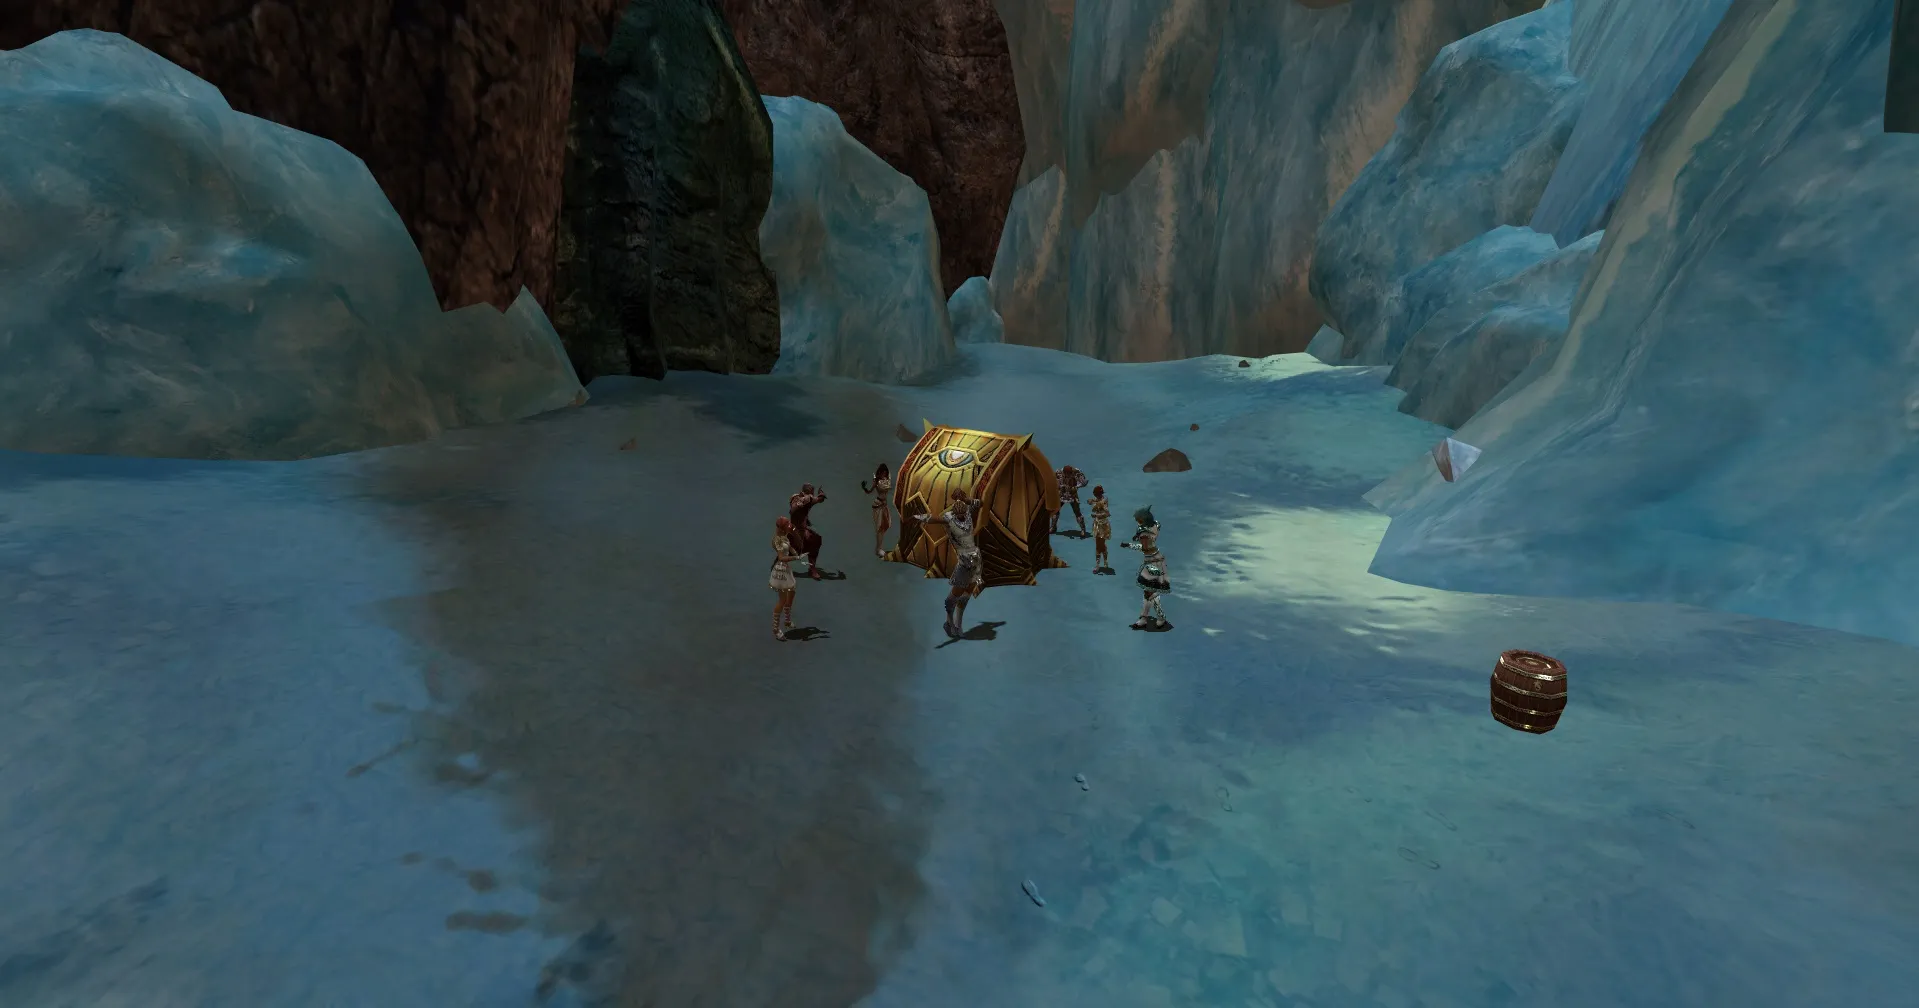
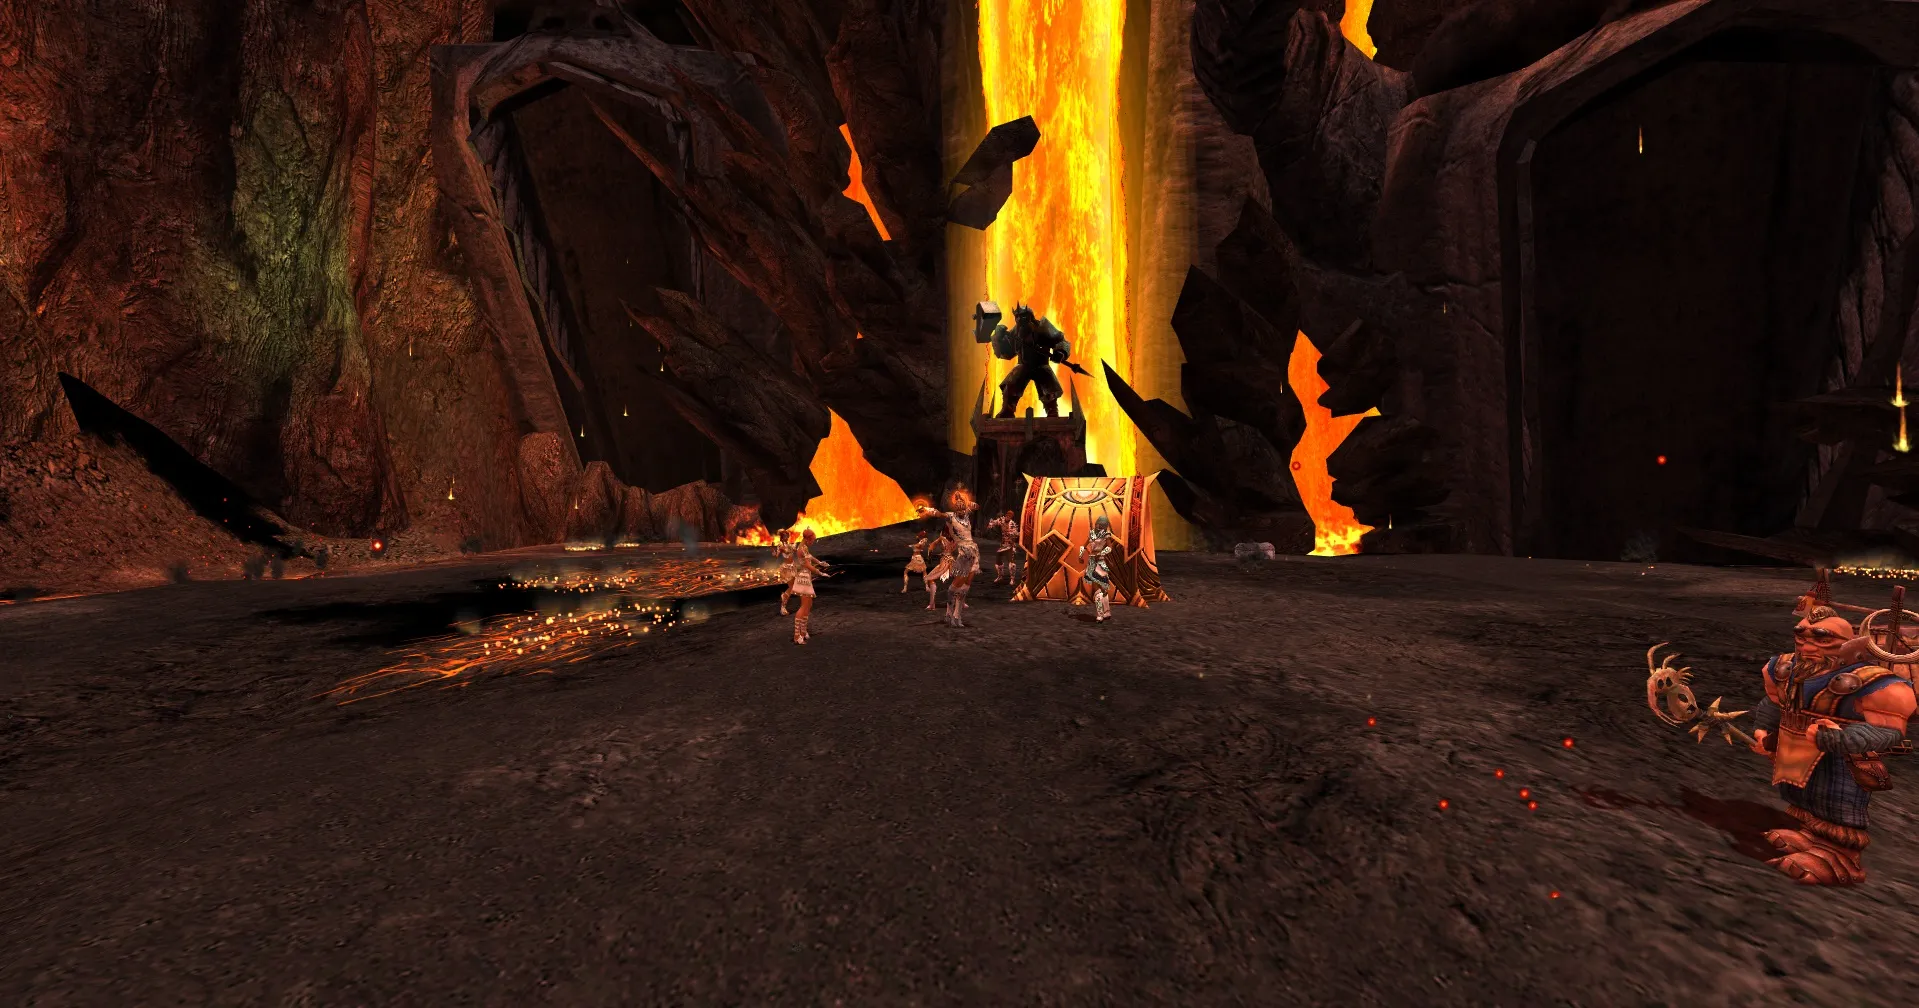
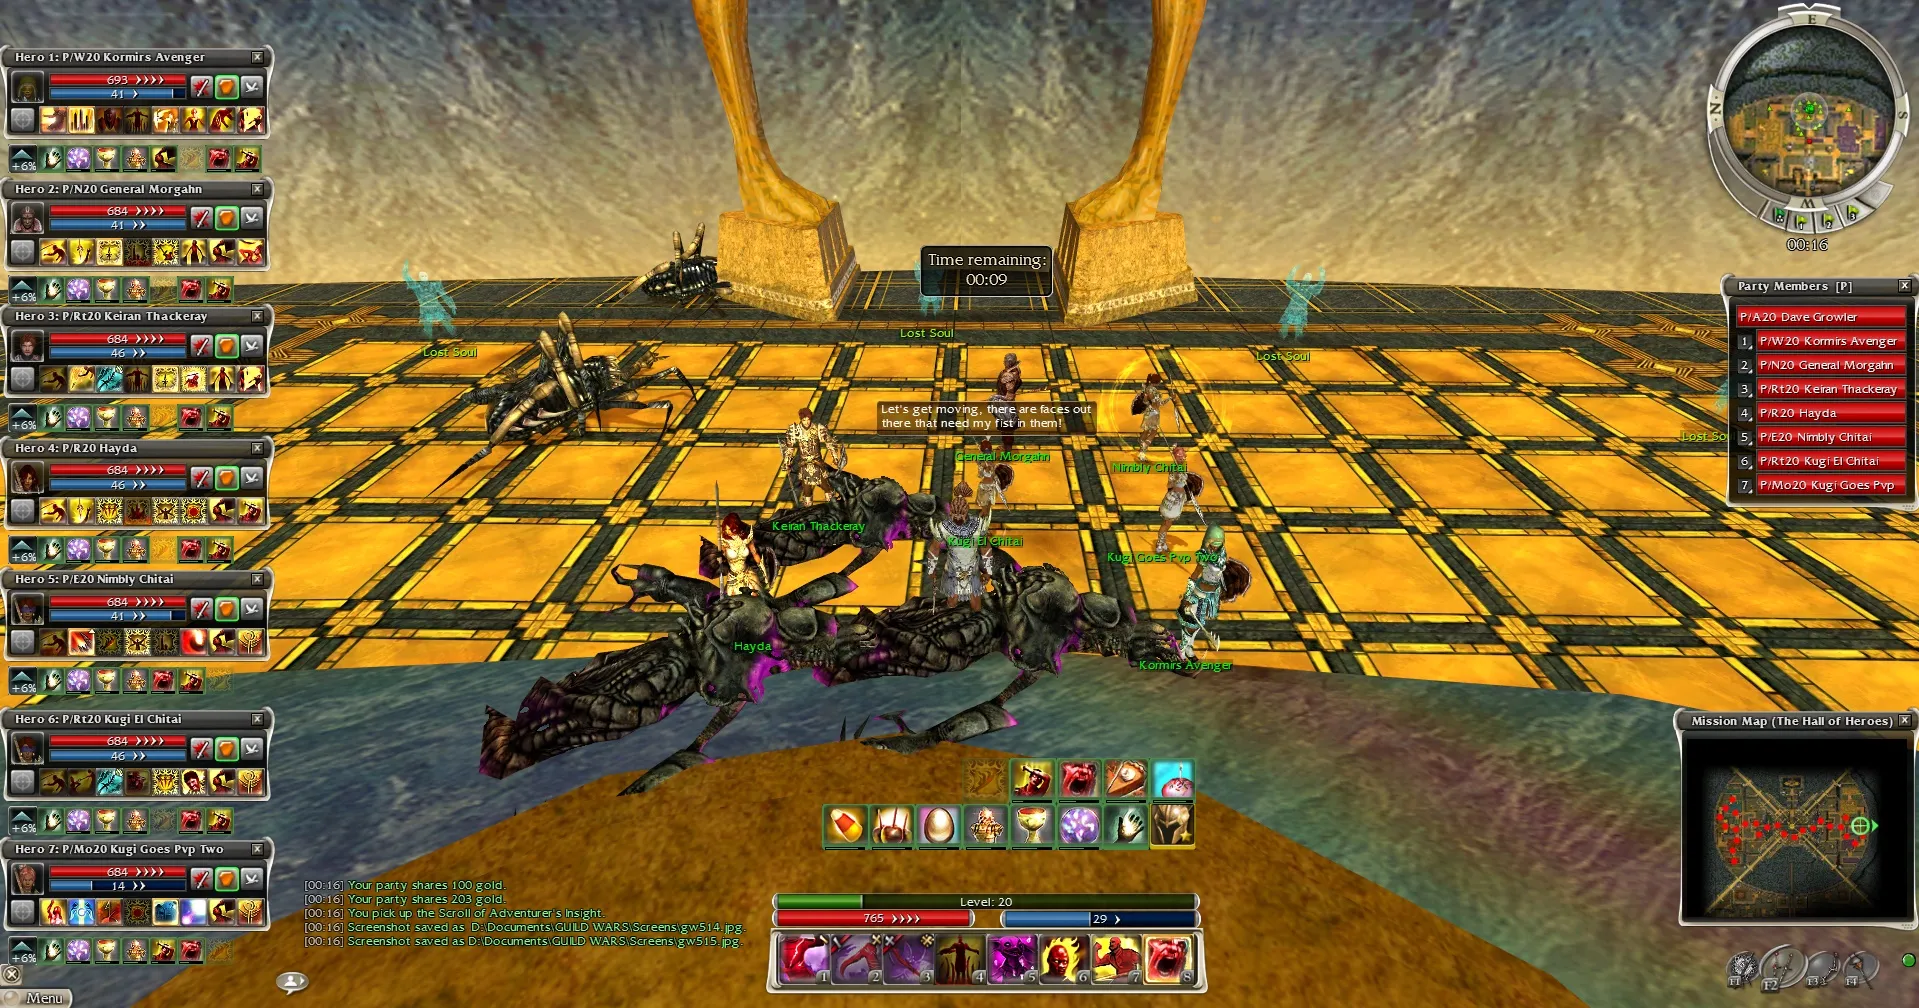
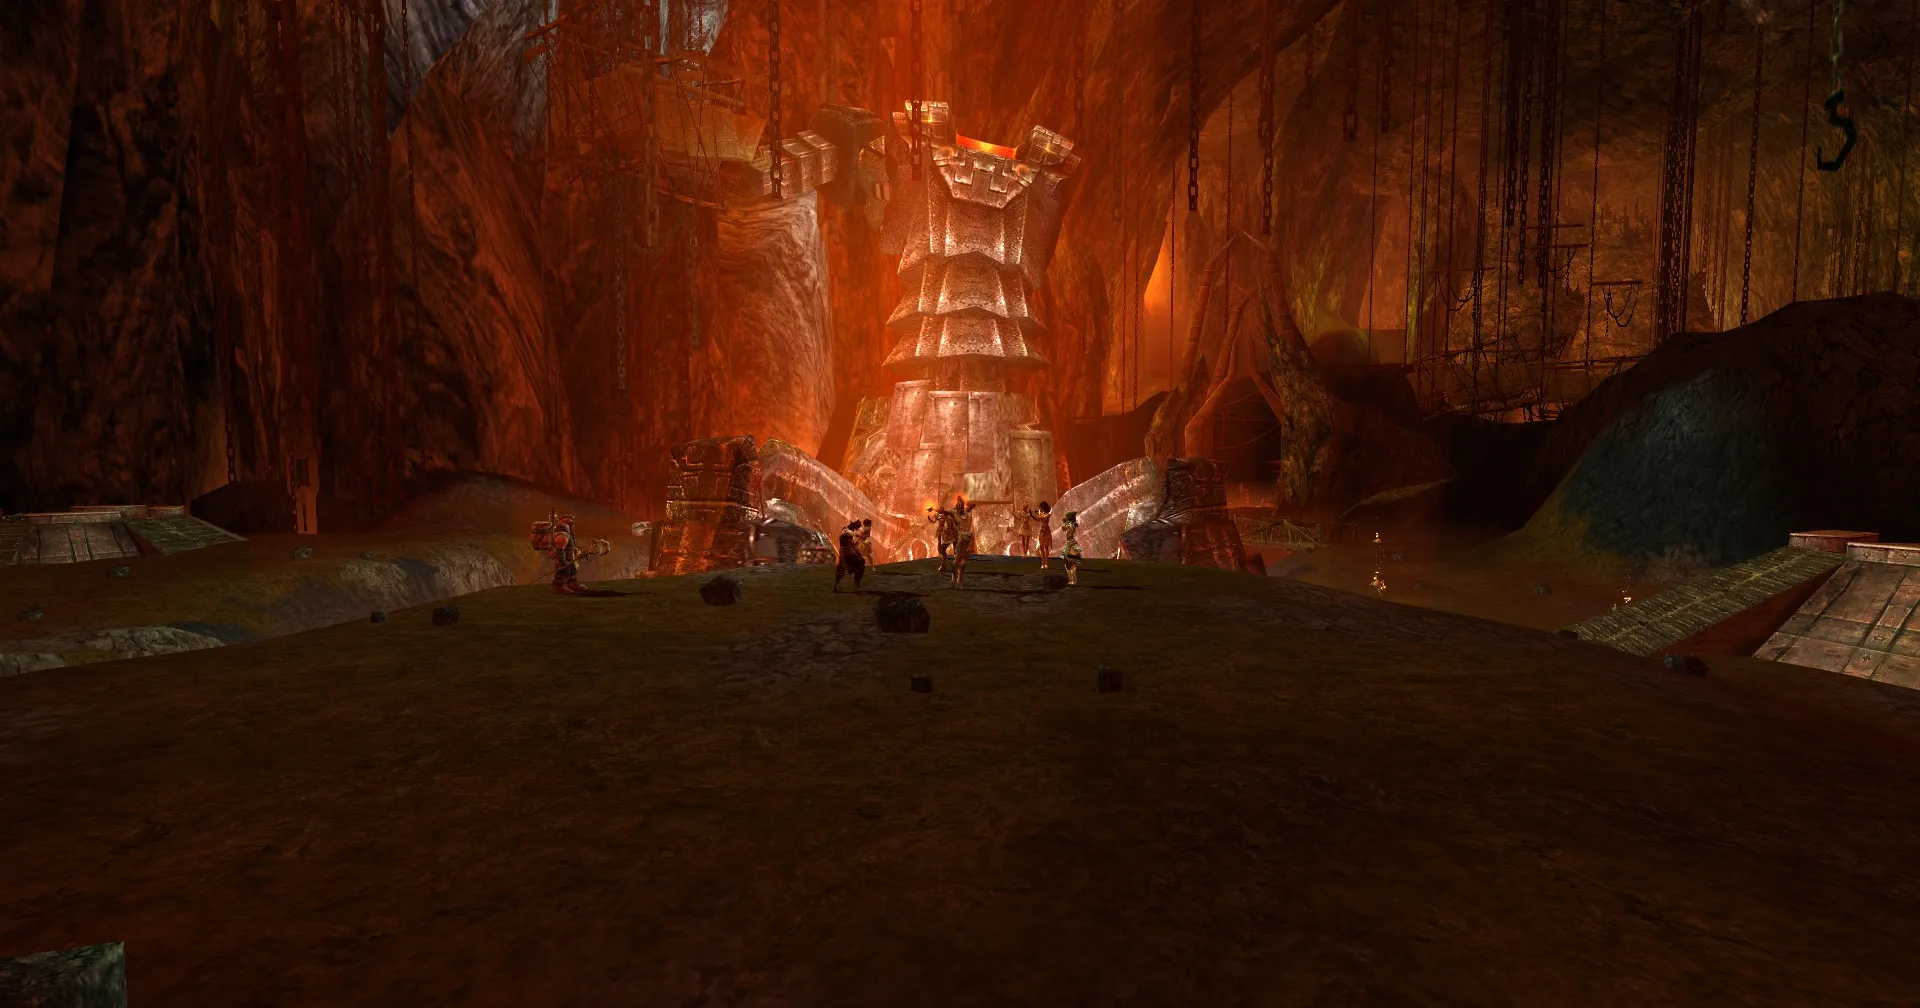
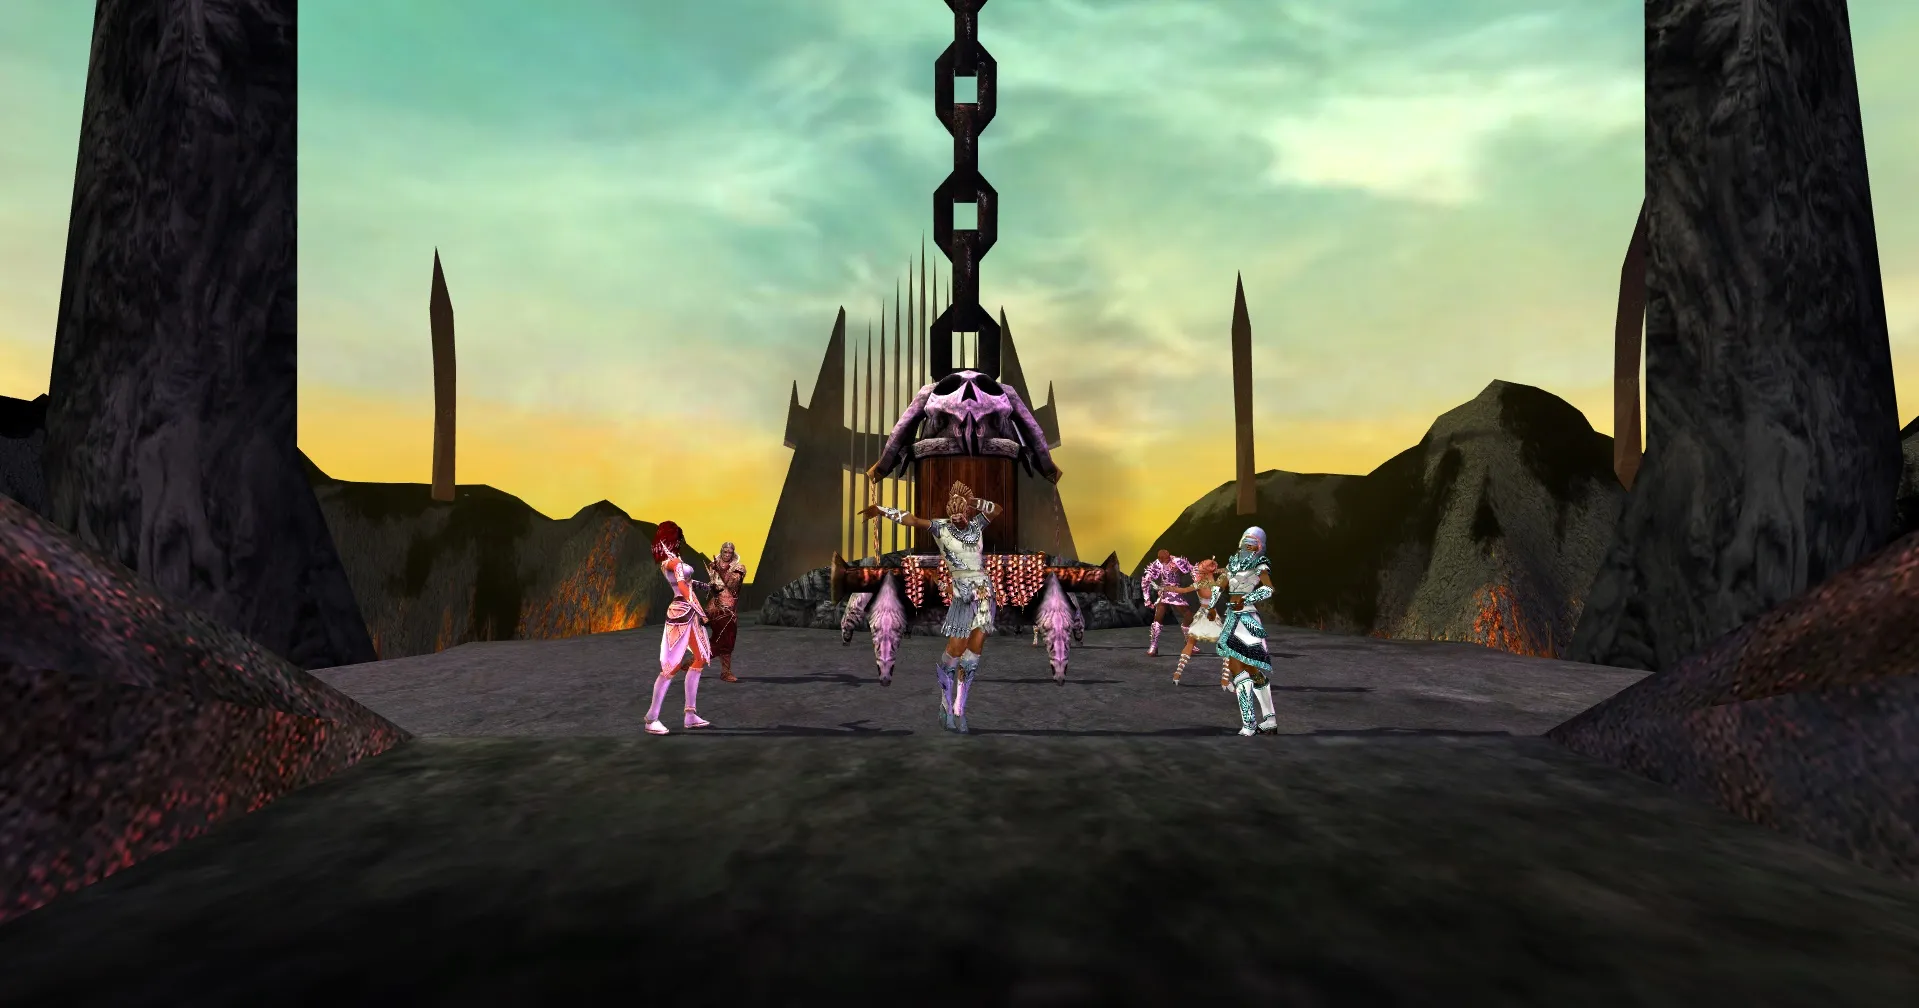
In this thread I will post my builds, which I used to clear all HM Dungeons and End Game Areas with Hero Paraways. I haven't finished all End Game Areas yet, due to lack of time, but I plan to do so in the near future.
I will give some hints and explanations to some builds and some general tips considering your hero setup. Feel free to post your own builds below mine or maybe you have some interesting changes to my builds ![]()
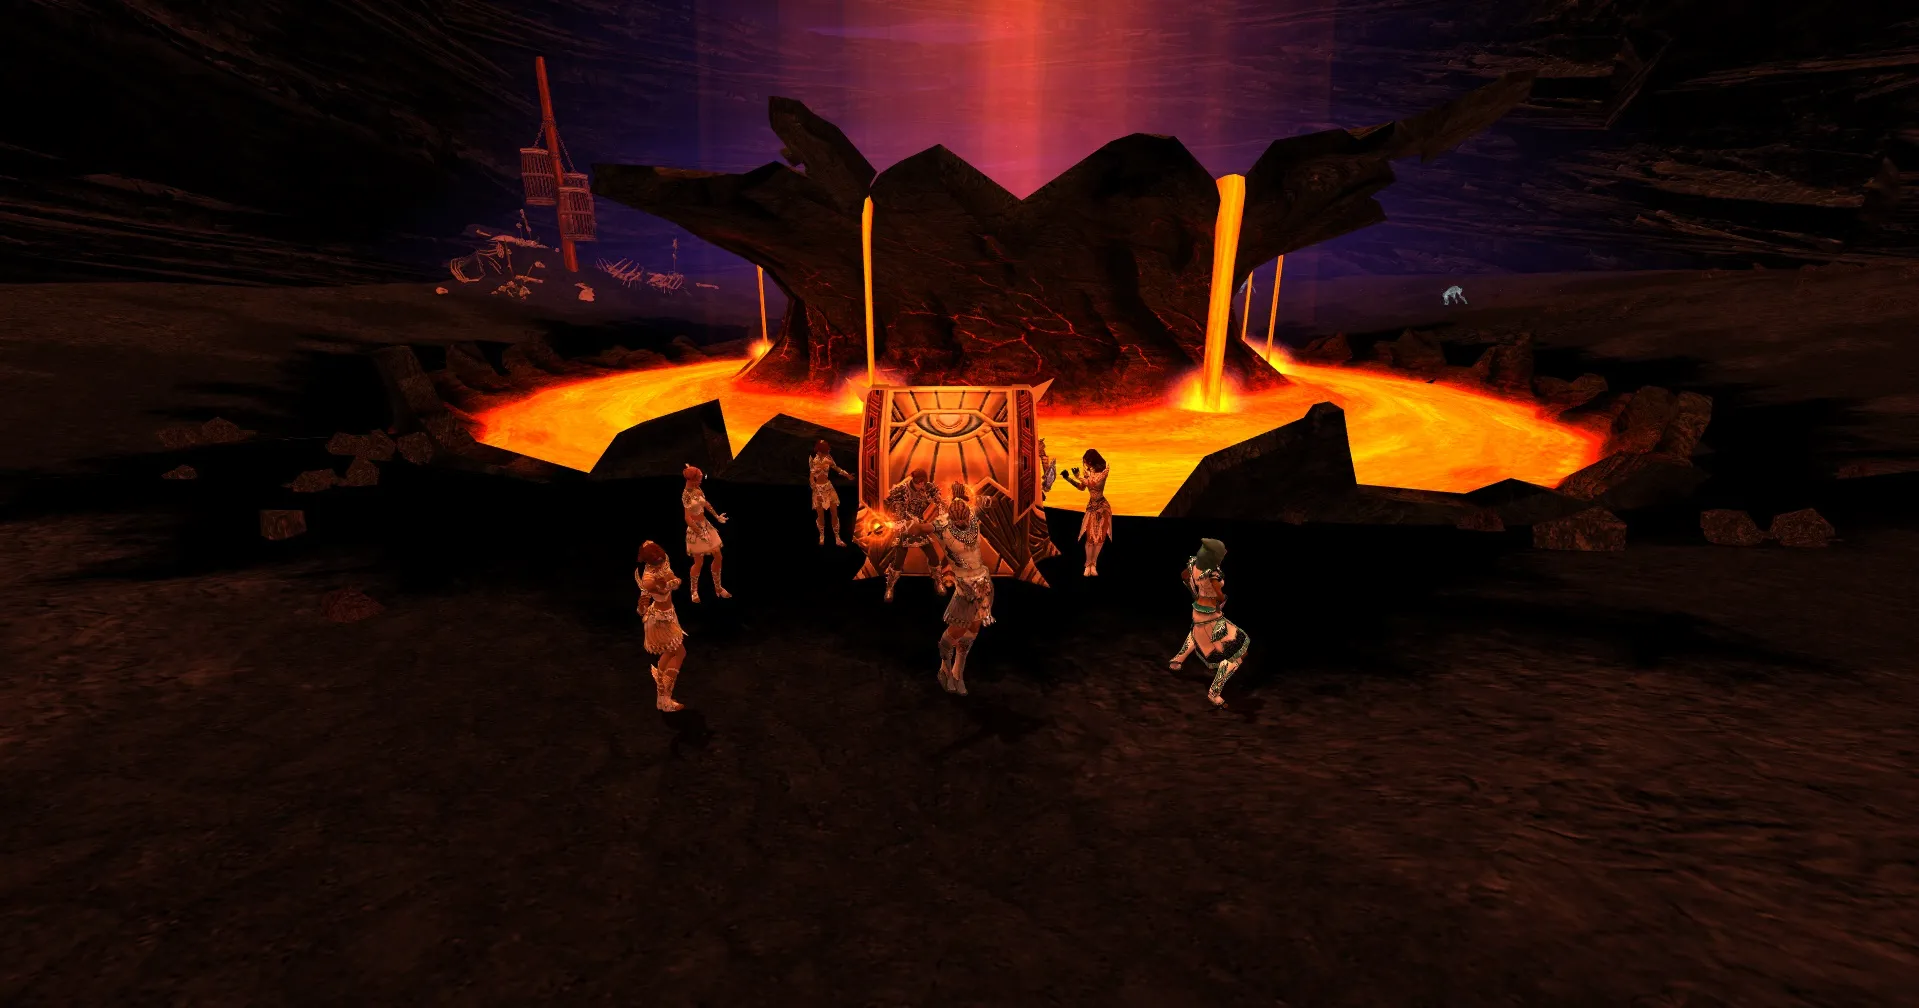
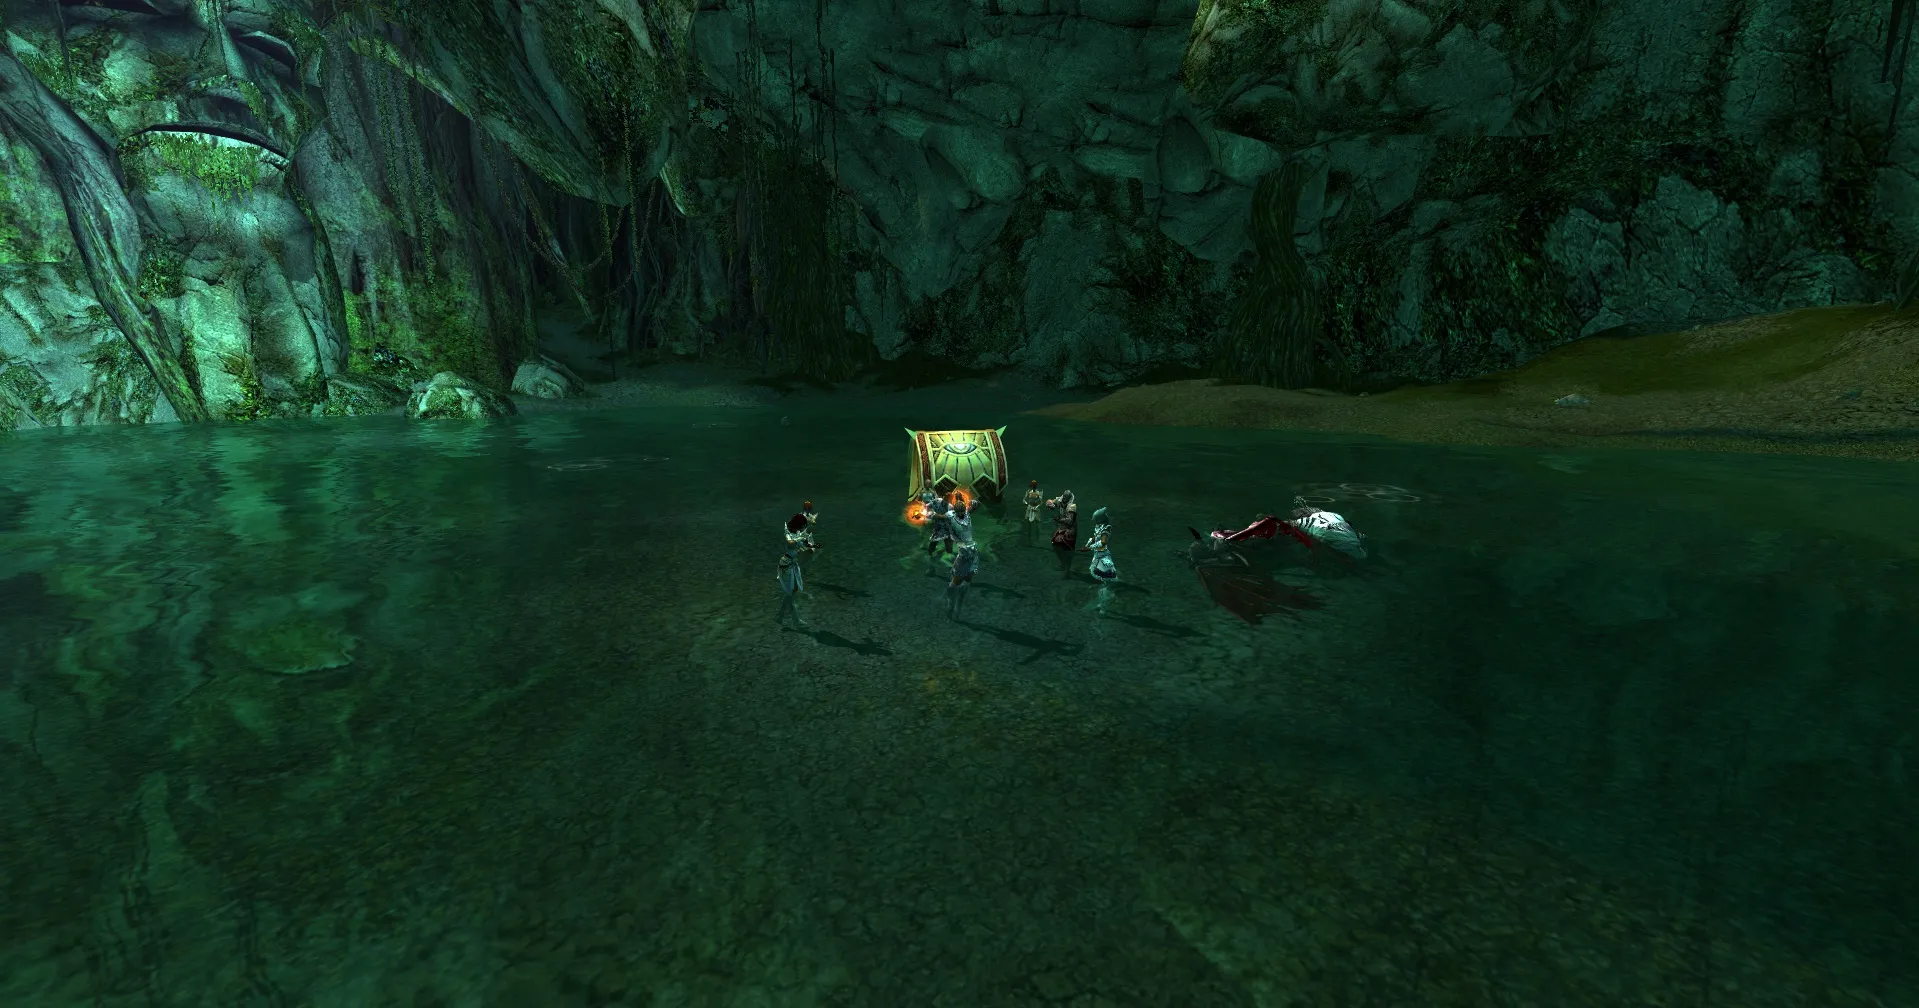
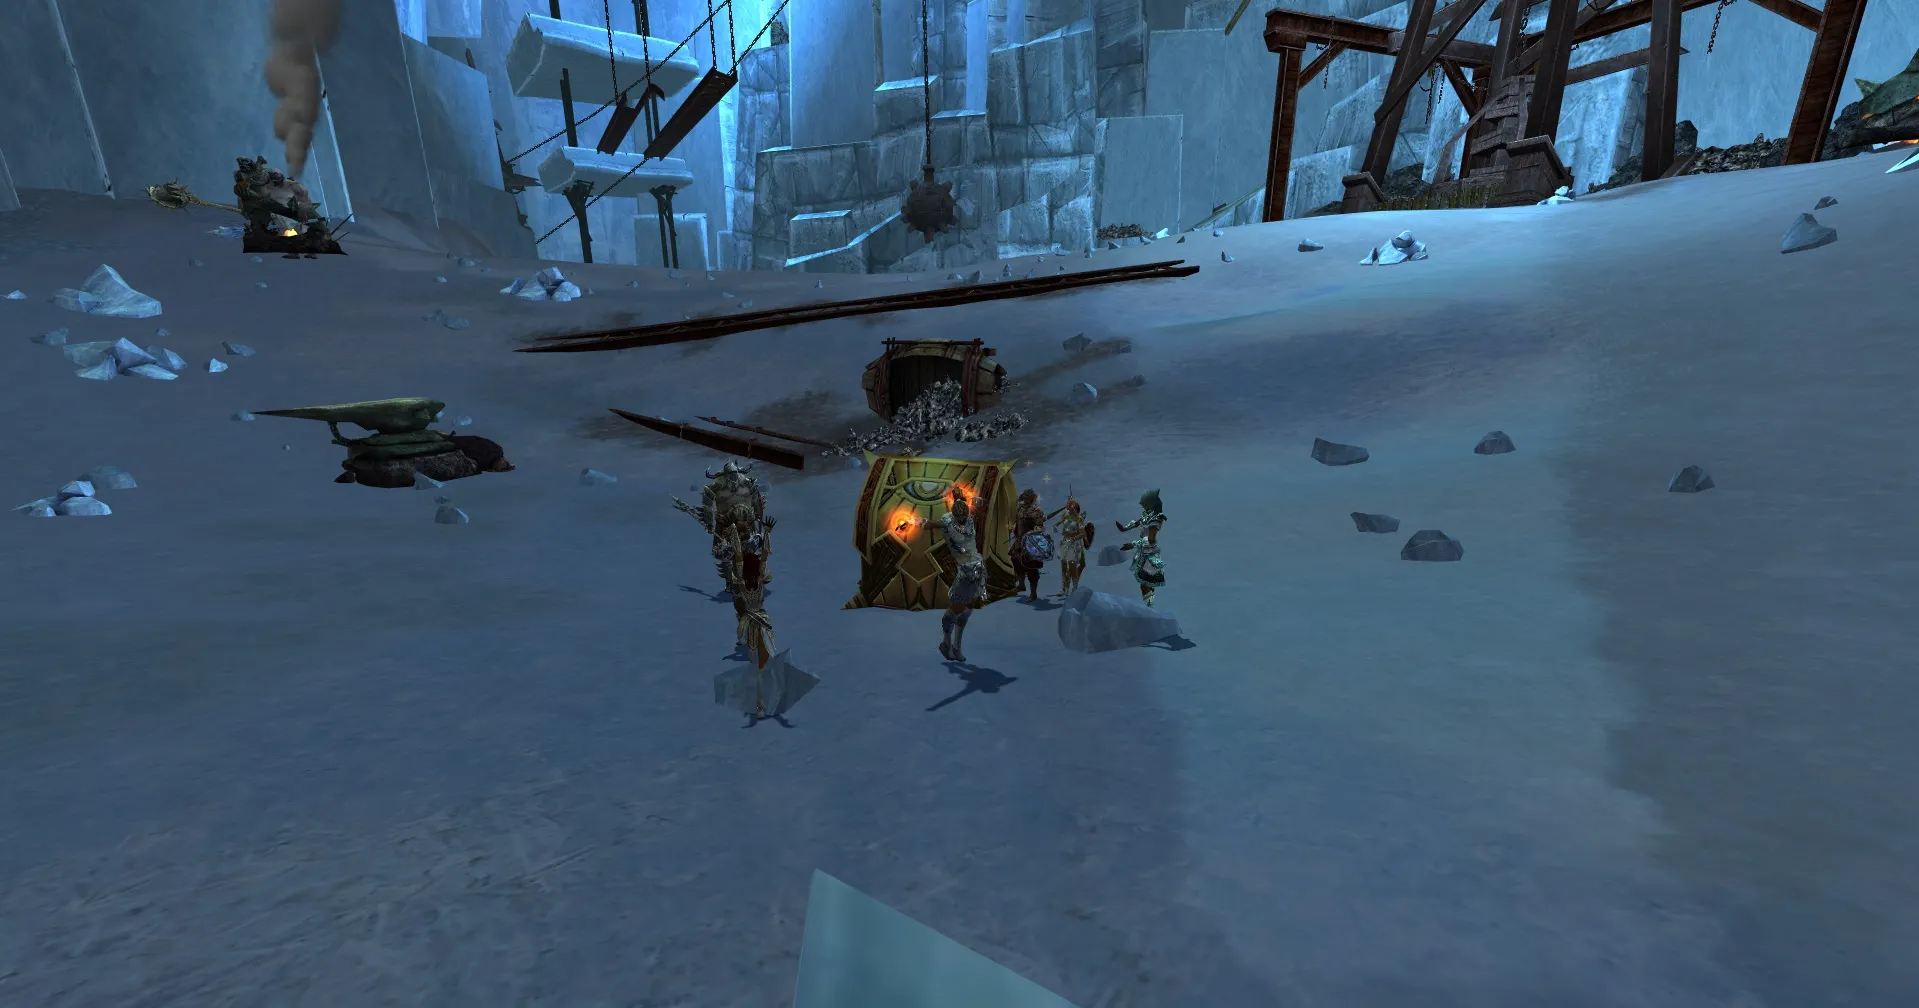
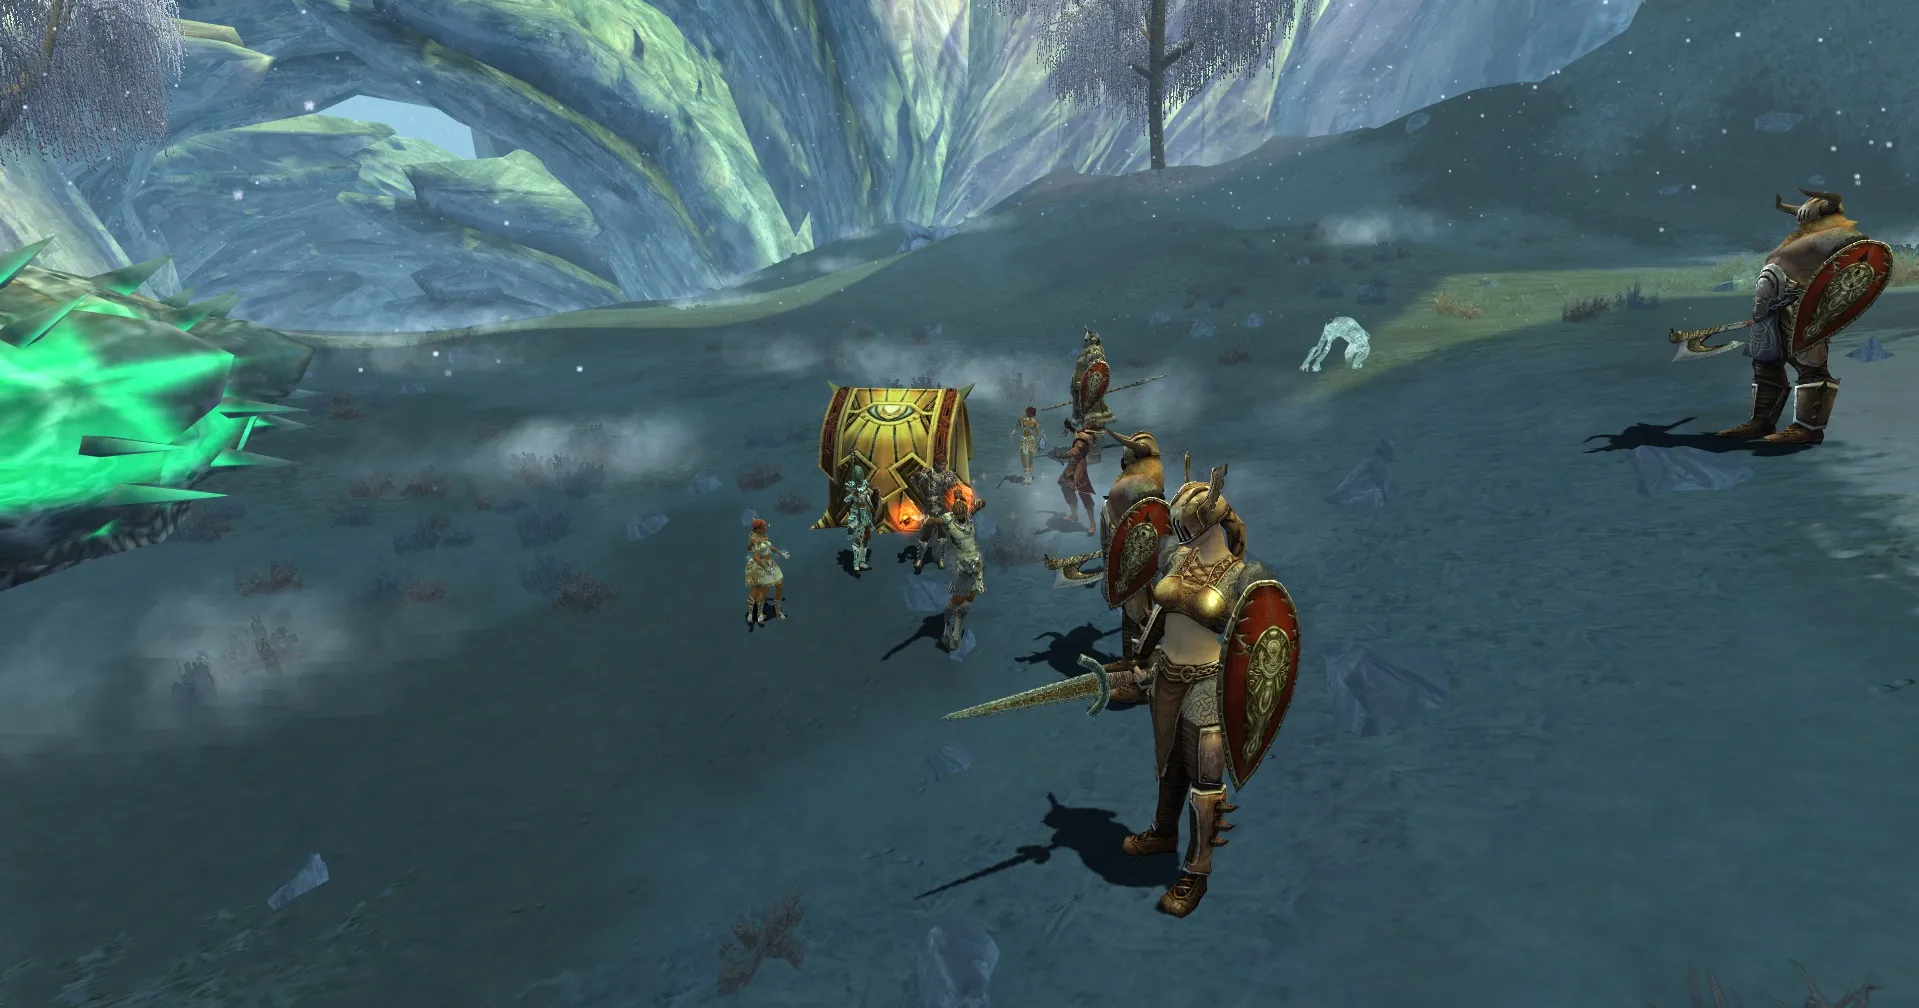
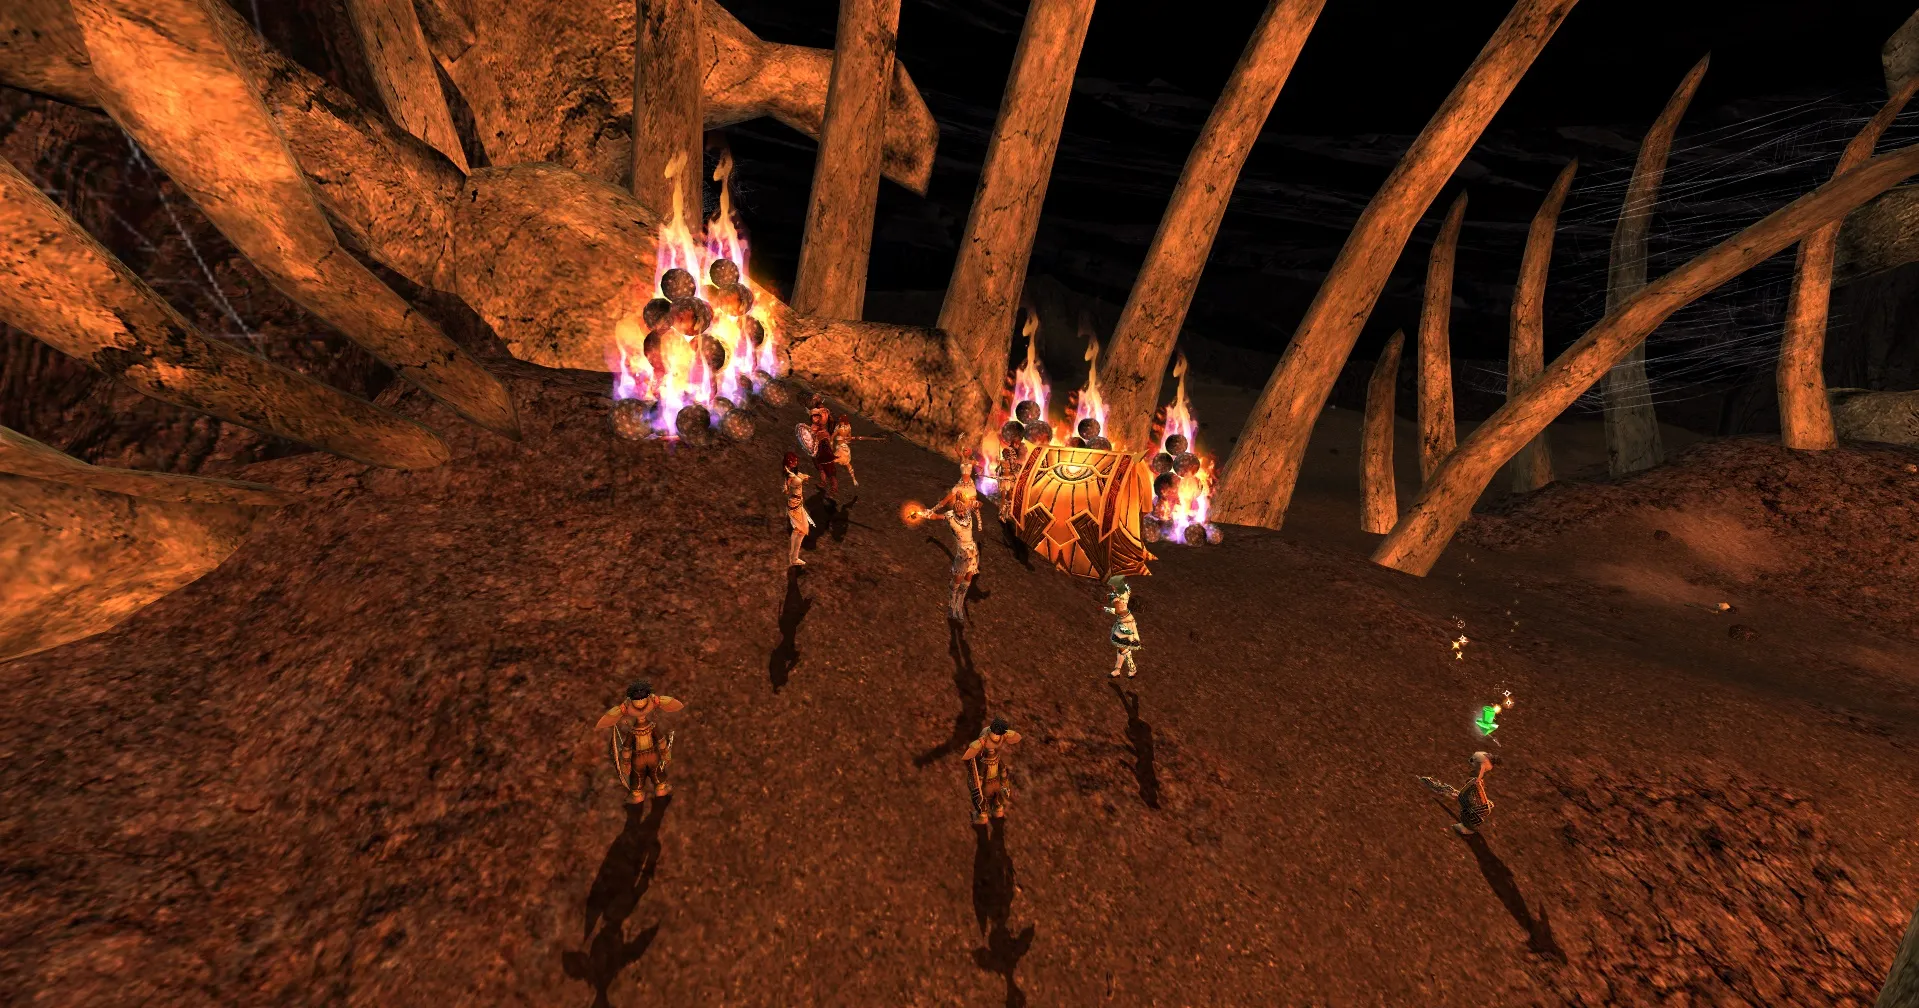
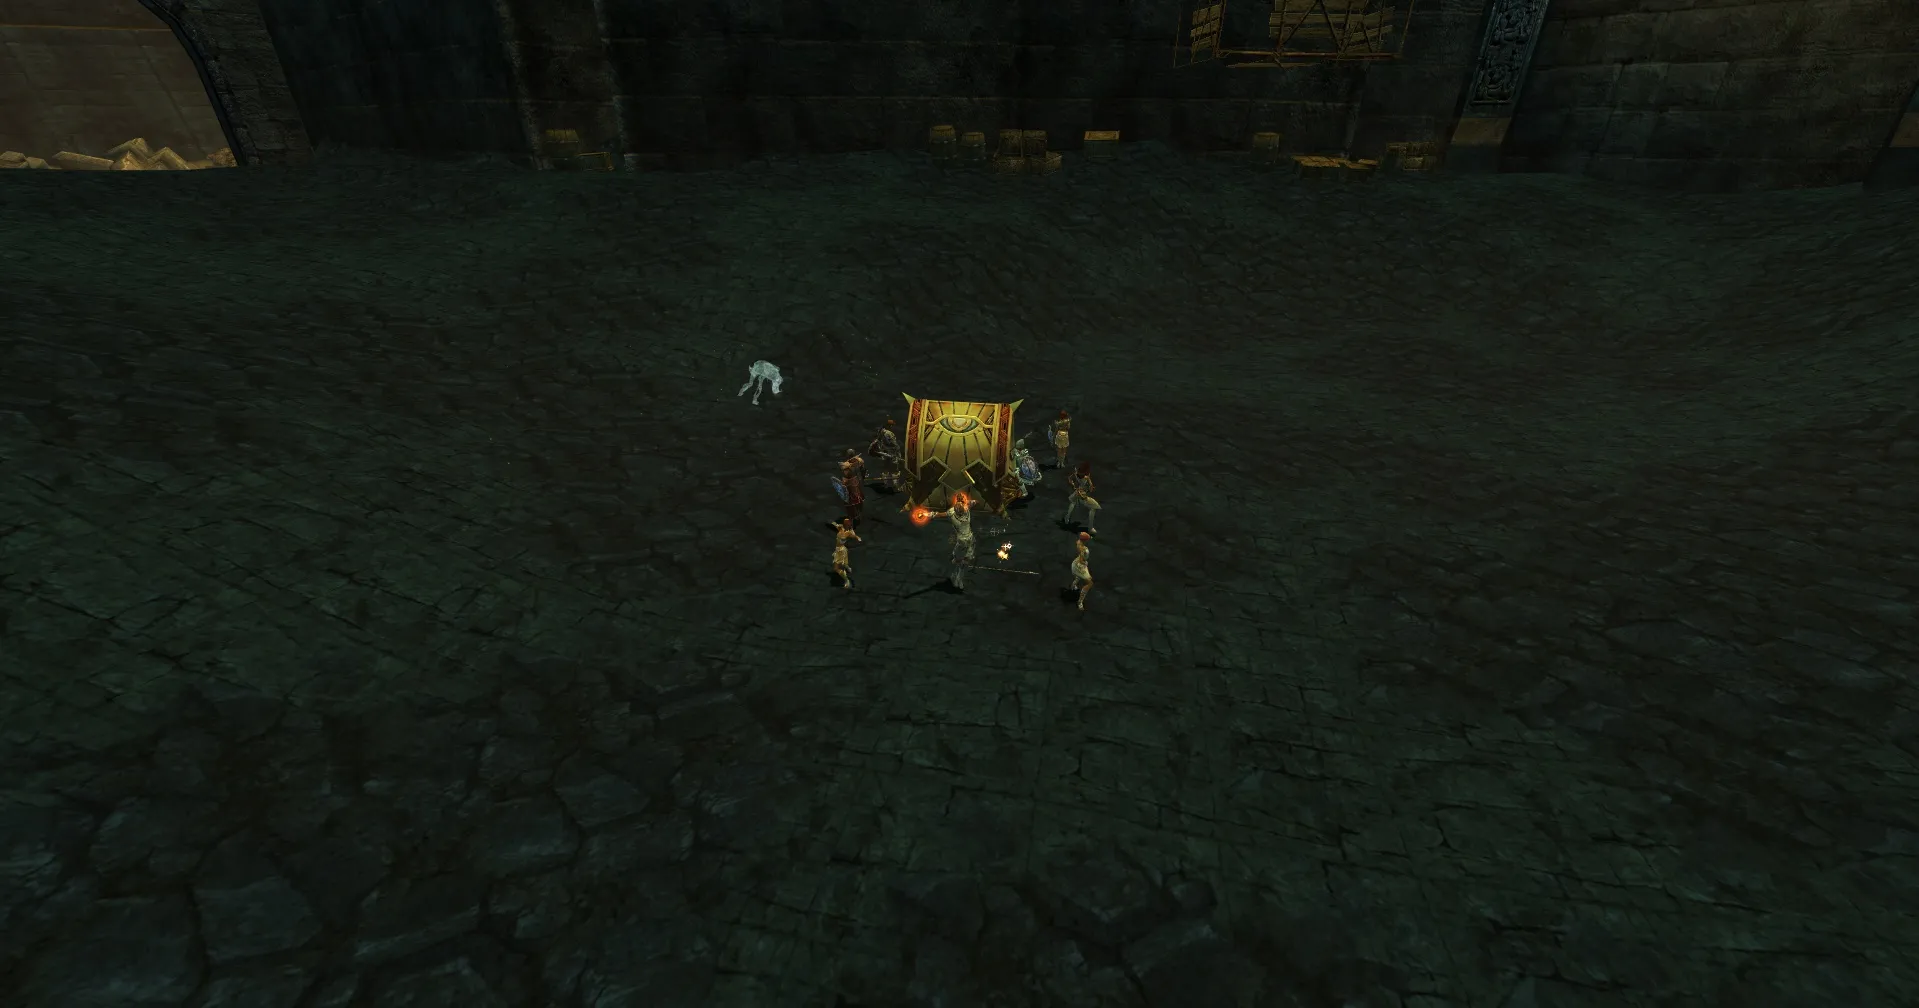
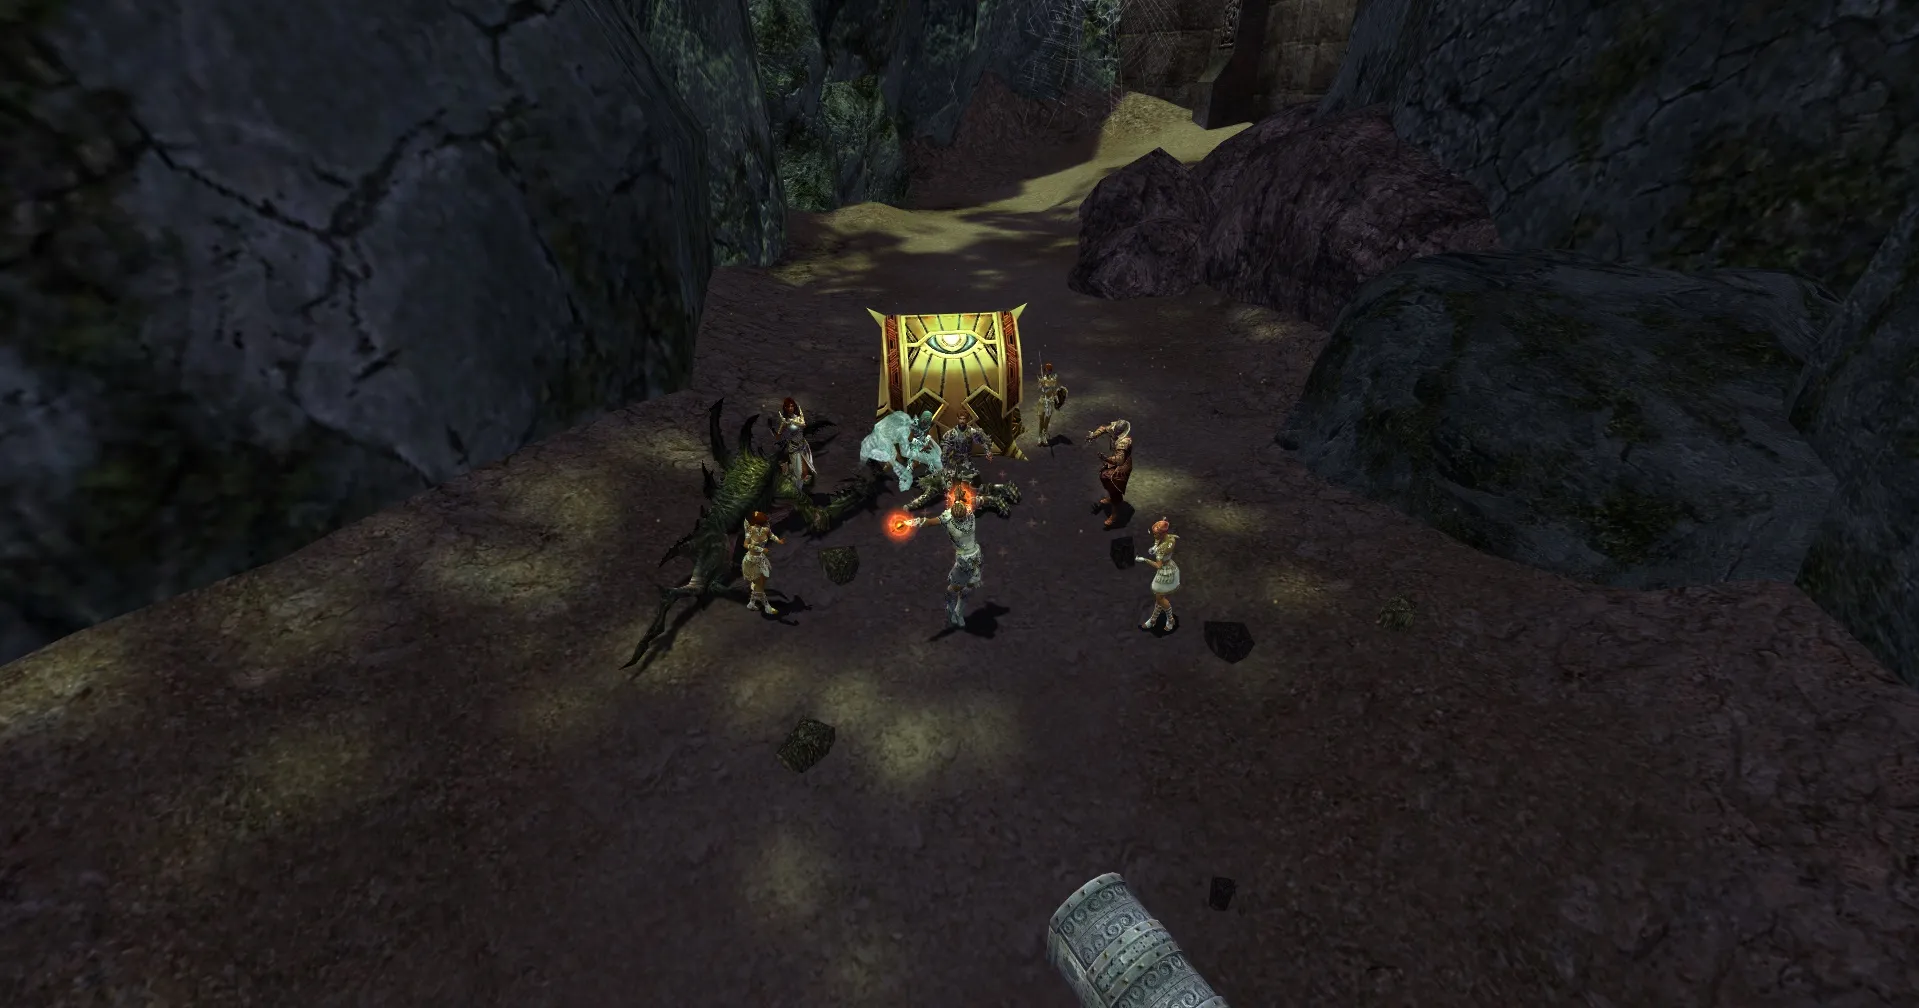
I don't claim, that these builds were invented by me nor that this is the most efficient way, but I love it when you have 8 Angels with wings in a small area who shout at their faces xD
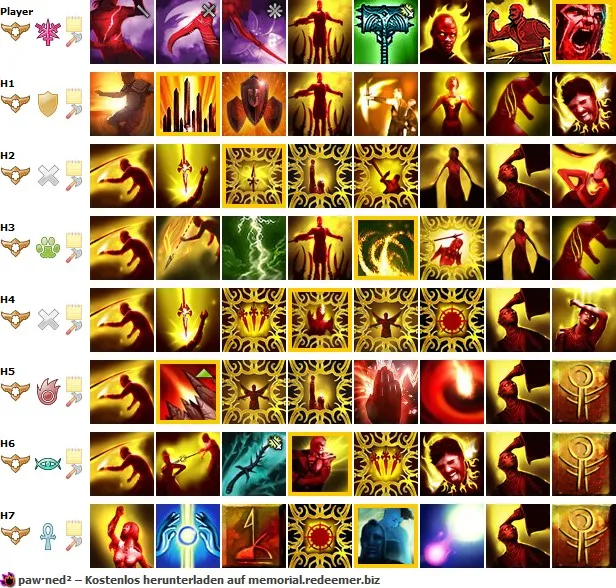
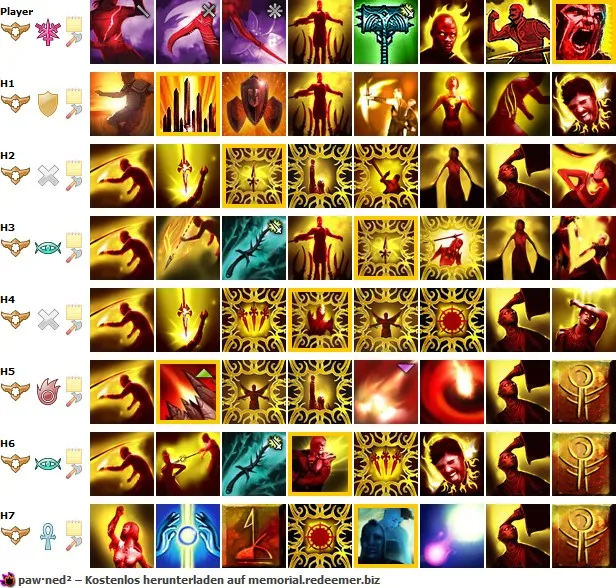
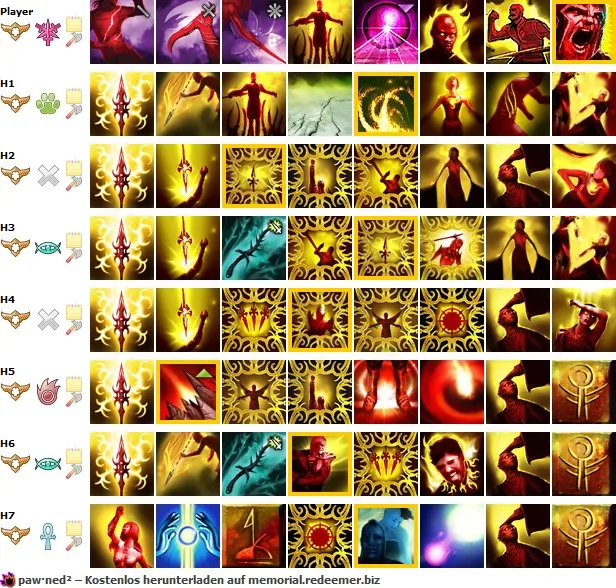
I will structure the thread the following way. In this first post I will give you some general ideas, the weaponry me and my heroes use and their rune setup (which I actually didn't change through all my runs).
After that I will make 1 Post for each Dungeon, and then I will post some builds for End Game areas which I already cleared, and which I will hopefully clear some time soon. ![]()
General Tips
- Paraway is possible because of [Finale of Restoration]. If you have an 8-man Teamcomposition you will need this skill on at least 5 people.
- Paragon Heroes, that you want to deal some damage, should not have more than 3 skills with a cast time
- Some Hymns, Echoes or Shouts only trigger, when you activate an attack skill. Thus most heroes should have at least one - better 2 attack skills. This will greatly increase the survivability
- Heroes should not carry more than 3 Adrenaline skills
- [Wearying Spear] is the best Spear attack, Heroes can use (the Weeknes condition will be removed very fast)
- Second best Spear attack is [Holy Spear] - situational, if Undeads or Summons or Ghosts are around - don't use it in combination with [Wearying Spear] - just 1 Adrenaline Attack Skill per Skillbar
- Most of the Refrains are total shit. I only use Heroic Refrain (obviously) and Mending Refrain.
- Most aoe-shouts may not have the best effect, but are basically a group heal, when they run out (because of Finale of Restoration)
- if you have a Hero skilled in the Command tree and you search for a nice Elite Skill (but don't need anything special), then take ["It's Just a Flesh Wound"]. BUT don't spec any attributes in Motivation. This way this shout will end after 2 seconds on the ally it was casted on and serves as a really strong cond removal as well as single target heal. If you dont use any attribute points in Motivation, Heroic Refrain will not buff that attribute up which is good for you - otherwise the skill duration goes up
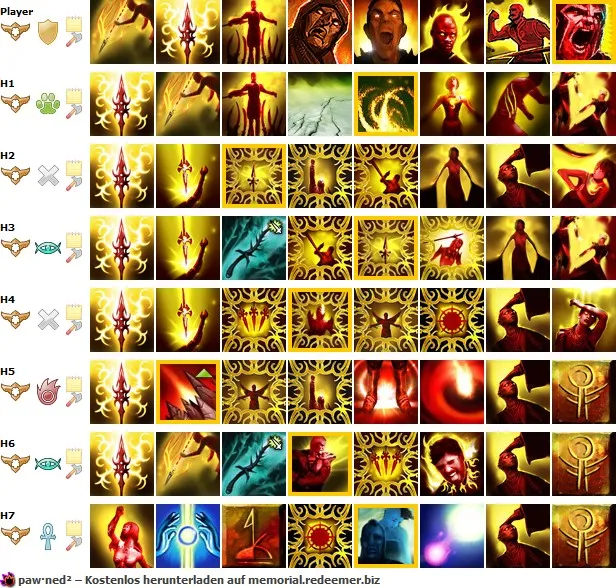
- You will see some useful skills from other classes, like ![]()
![]()
![]()
![]() and
and ![]() - some spirits from Ranger are totally op in Paraway
- some spirits from Ranger are totally op in Paraway ![]()
- before you aggro enemies, target a random enemy and manually cast [Finale of Restoration], as well as [Energizing Finale] - This way the heroes with those skills have them on themselves already and after their cooldown is refreshed they will immediately cast it on all others - so your group is protected
- don't be afraid of [Spiteful Spirit] - you wont die as long as you keep attacking and spamming your shouts - if you have [Empathy] on yourself or even both it's a different story
- I used Consets and some standard Pcons in all HM areas you will see here - in NM you don't need a Conset, but you might want to add the [Aggressive Refrain]
- when using Consets, beware of the usage of ["They're on Fire!"] (Cooldown is faster then the 10sec Duration, so Heroic Refrain and Mending Refrain will run out if you spam the skill)
- I didn't use any Summoning Stones in any of my runs so i have the pure Paragon feeling ![]() - Obviously it should be stronger with those
- Obviously it should be stronger with those
- Hero-Paraway in the past lacked Damage, which is why you will see me run the Dagger Heroic Refrain Version almost every time
- I cast Heroic Refrain twice on myself and then once on the Hero with Mending Refrain. After that I start moving and recast Heroic Refrain and Mending Refrain on all other heroes while walking and fighting - I don't disable the Mending Refrain skill, so the Hero casts it automatically on all other Heroes which suffer from Health Degeneration
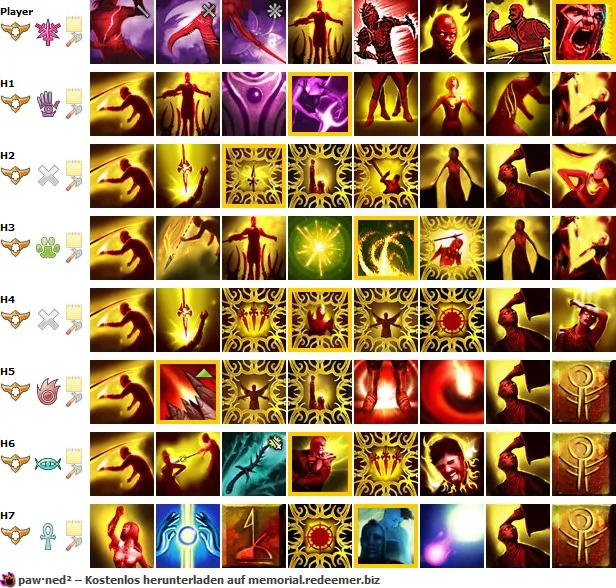
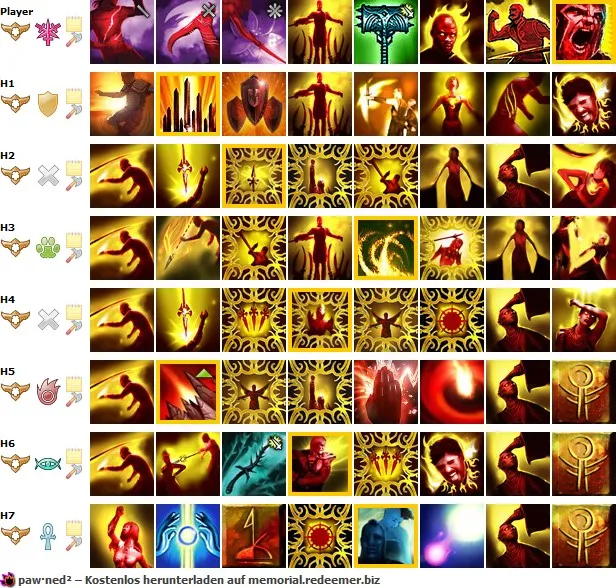
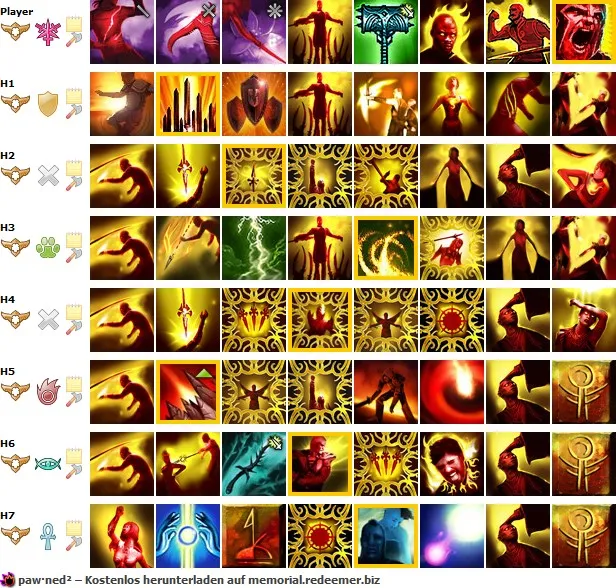
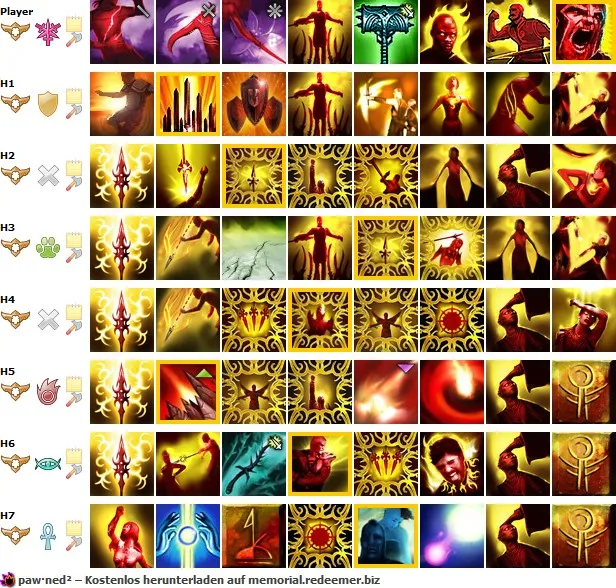
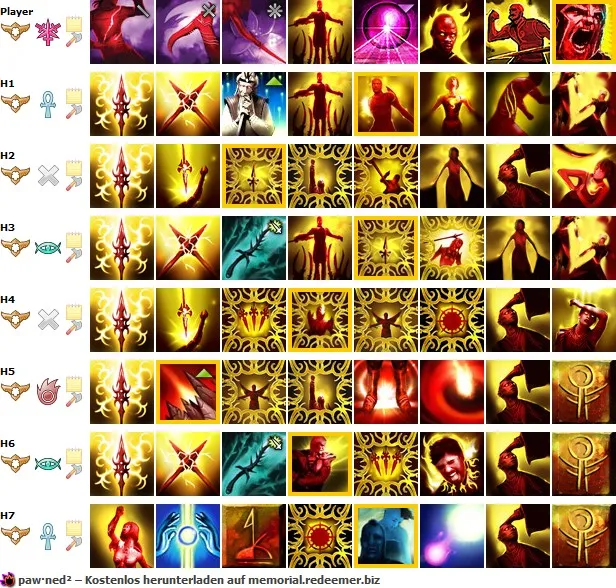
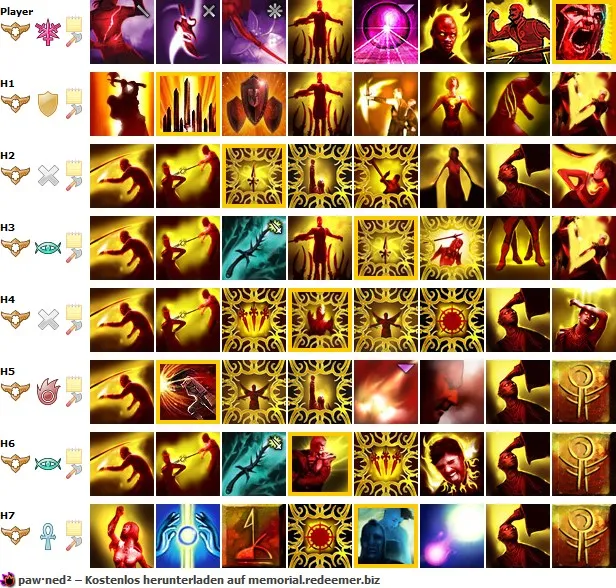
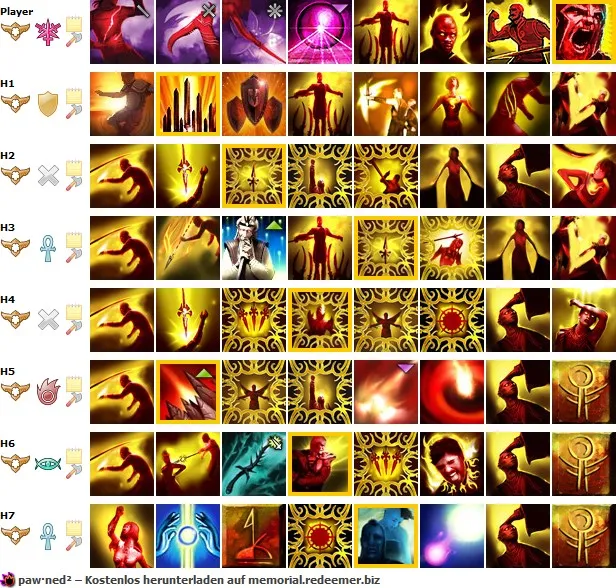
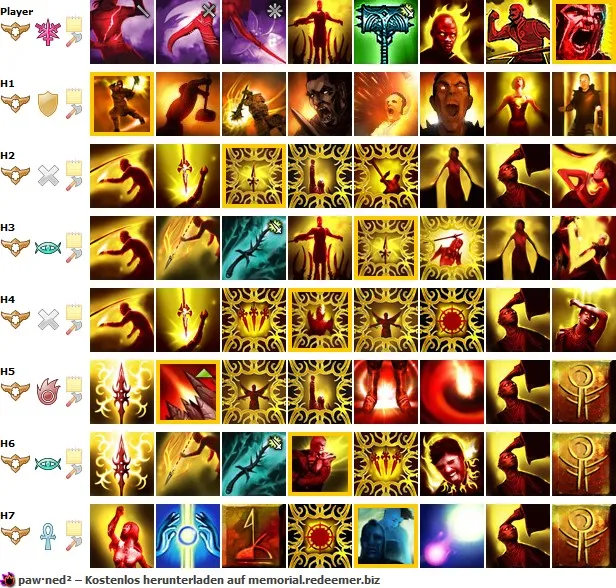
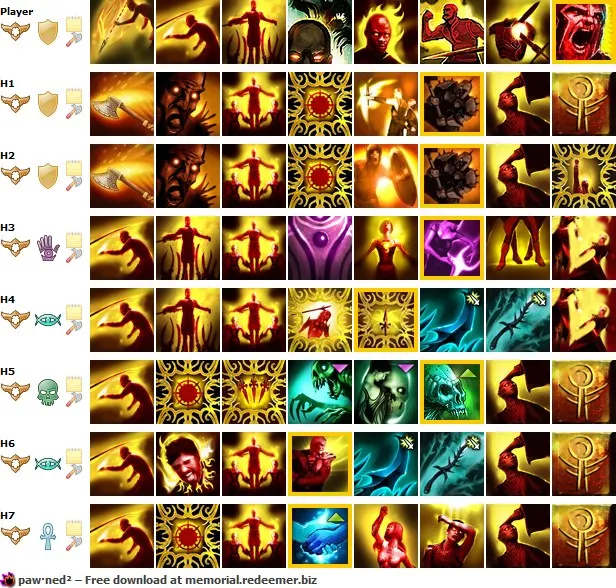
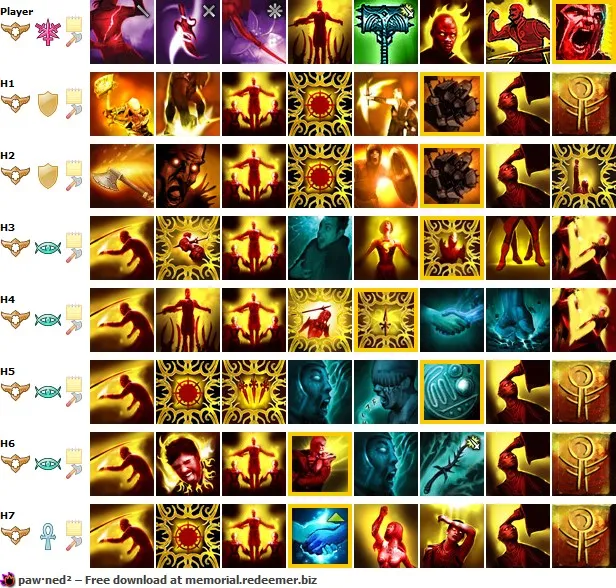
Equipment
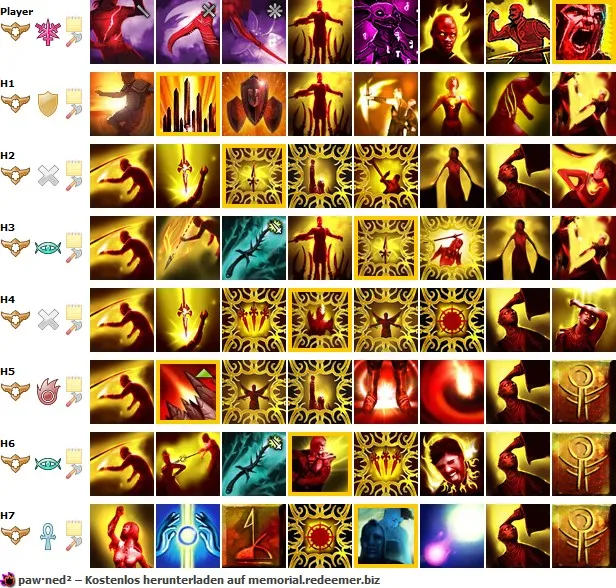
Human Player
Weapons:
Dagger / +5 Energy / Zeal / Armor +5
Spear / +5 Energy / Furious / Armor +5 - Shield / +30 Hp / Reduces Blind Duration 20%
Bow for Pulling
Runes:
Sup Leadership / Sup Vigor / Vitae / Vitae / Clarity / 5x Centurions
Hero 1
Weapons:
Sword / +5 Energy / Zeal / +30 Hp - Tactics Shield / +30 Hp / Reduces Blind Duration 20%
Spear / +5 Energy / Furious / +30 Hp - Command Shield / +30 Hp / Reduces Blind Duration 20%
Hammer / +5 Energy / Sundering / +30 Hp
Runes:
Major Command / Sup Vigor / Minor Leadership / Vitae / Clarity / 5x Centurions
Hero 2
Weapons:
Spear / +5 Energy / Furious / +30 Hp - Motivation Shield / +30 Hp / Reduces Blind Duration 20%
Runes:
Major Leadership / Sup Vigor / Minor Motivation / Minor Spear / Clarity / 5x Centurions
Hero 3
Weapons:
Spear / +5 Energy / Furious / +30 Hp - Command Shield / +30 Hp / Reduces Blind Duration 20%
Sword / +5 Energy / Furious / +30 Hp - Tactics Shield / +30 Hp / Reduces Blind Duration 20%
Runes:
Major Leadership / Sup Vigor / Minor Command / Minor Spear / Clarity / 5x Centurions
Hero 4
Weapons:
Spear / +5 Energy / Furious / +30 Hp - Motivation Shield / +30 Hp / Reduces Blind Duration 20%
Runes:
Major Leadership / Sup Vigor / Minor Motivation / Minor Spear / Clarity / 5x Centurions
Hero 5
Weapons:
Spear / +5 Energy / Furious / +30 Hp - Motivation Shield / +30 Hp / Reduces Blind Duration 20%
Runes:
Major Motivation / Sup Vigor / Minor Leadership / Minor Spear / Clarity / 5x Centurions
Hero 6
Weapons:
Spear / +5 Energy / Furious / +30 Hp - Motivation Shield / +30 Hp / Reduces Blind Duration 20%
Runes:
Major Leadership / Sup Vigor / Minor Motivation / Minor Spear / Clarity / 5x Centurions
Hero 7
Weapons:
Spear / +5 Energy / Furious / +30 Hp - Motivation Shield / +30 Hp / Reduces Blind Duration 20%
Runes:
Major Leadership / Sup Vigor / Minor Motivation / Minor Spear / Clarity / 5x Centurions
Ok I hope you will have some fun trying out these builds and enjoy some Paragon Gameplay.
Please give me some time to fill up those pages ![]()